


I usually try to keep these guides focused on what will work for most people, not just me. This one is different.
This is my actual signal chain. These are the plugins I use on every mix, why I use them, and how they fit together. My style is very much my own, but if I were teaching someone how to mix, this is exactly what I’d use.
Below are 16 plugins that end up on every song I mix, usually more than once.
Affiliate Disclosure:
Some of the links in this article are affiliate links. If you purchase through these links, Sonic Odyssey may earn a small commission at no additional cost to you. This helps support the site and allows us to continue creating in-depth guides for music producers.
Dial In Your Monitoring
Headphones, monitors, and interfaces that let you actually hear what you’re doing.

Accurate headphones that reveal problems instead of hiding them so your mixes actually translate.

Affordable monitors that don’t lie to you and help you make better decisions while mixing.

Clean, reliable interfaces that won’t bottleneck your sound or your workflow.
Must-Have Plugins for Mixing & Mastering
Slate Virtual Tape Machines (VTM)
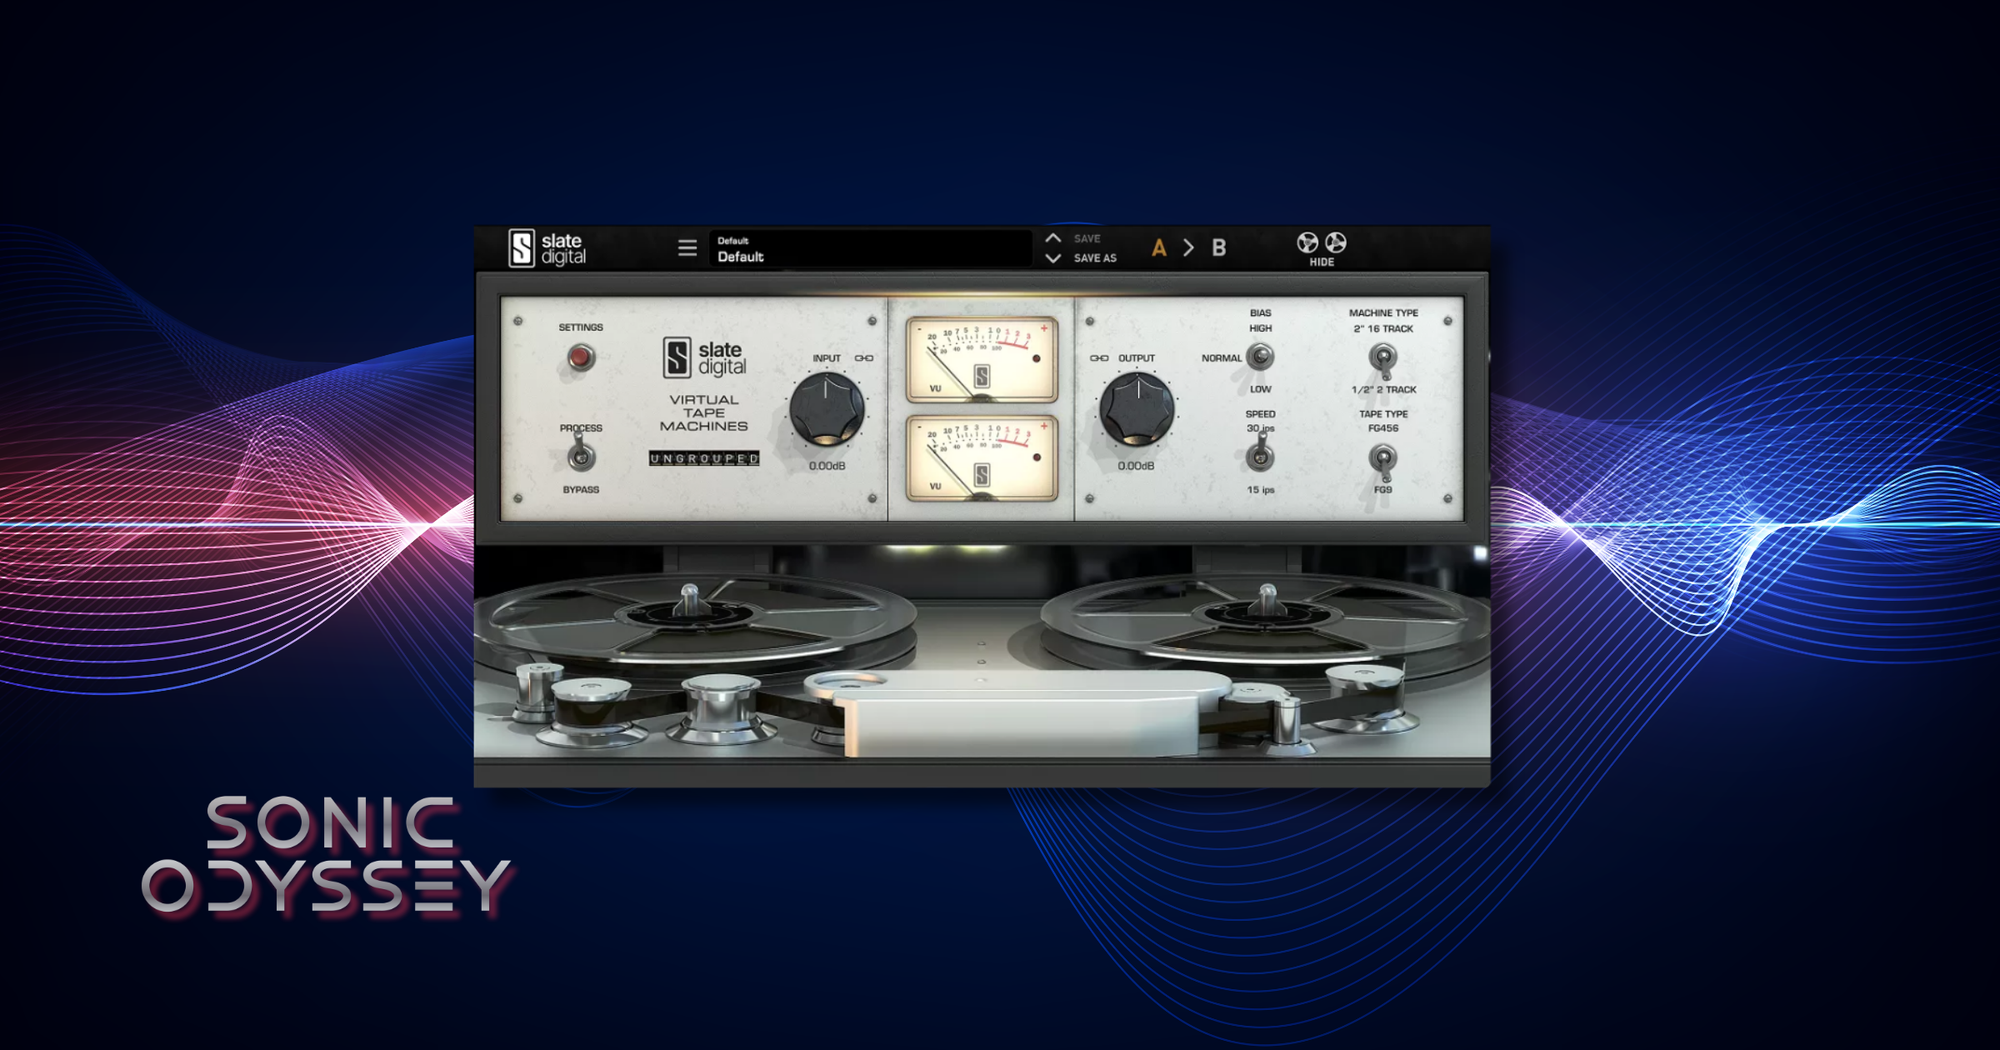
This is on pretty much everything for me. Not in a set-it-and-forget-it way, but as a starting point. Before I even think about EQ or compression, I want a little bit of tone happening.
If a mix feels too clean or sterile, this is usually part of the fix.
How I dial it depends on the track. If I want something thicker or a little more lo-fi, I’ll go with 15 IPS and lower the headroom so it starts to saturate. That works great on guitars, keys, and anything that benefits from a bit of weight and smear.
I’m a lot more careful with drums and bass. It’s really easy to kill the punch if you push it too hard. In those cases, I’ll keep the headroom higher and let it stay more controlled. Just enough to glue things without flattening the transients.
It also sits on my master bus. Not for heavy color, just to simulate that final pass through a tape machine. A little bit of compression, a little bit of harmonic buildup, and the mix starts to feel more cohesive.
This isn’t about chasing analog for the sake of it. It’s about getting away from that overly clean digital sound.
Best For:
- Adding subtle saturation and harmonic density across a mix
- Gluing tracks together before bus processing
- Giving the master bus a cohesive, analog-style feel
Why It’s Here
If your mixes sound too clean or disconnected, this is one of the easiest ways to bring everything together without overprocessing.
Slate Virtual Console Collection (VCC)
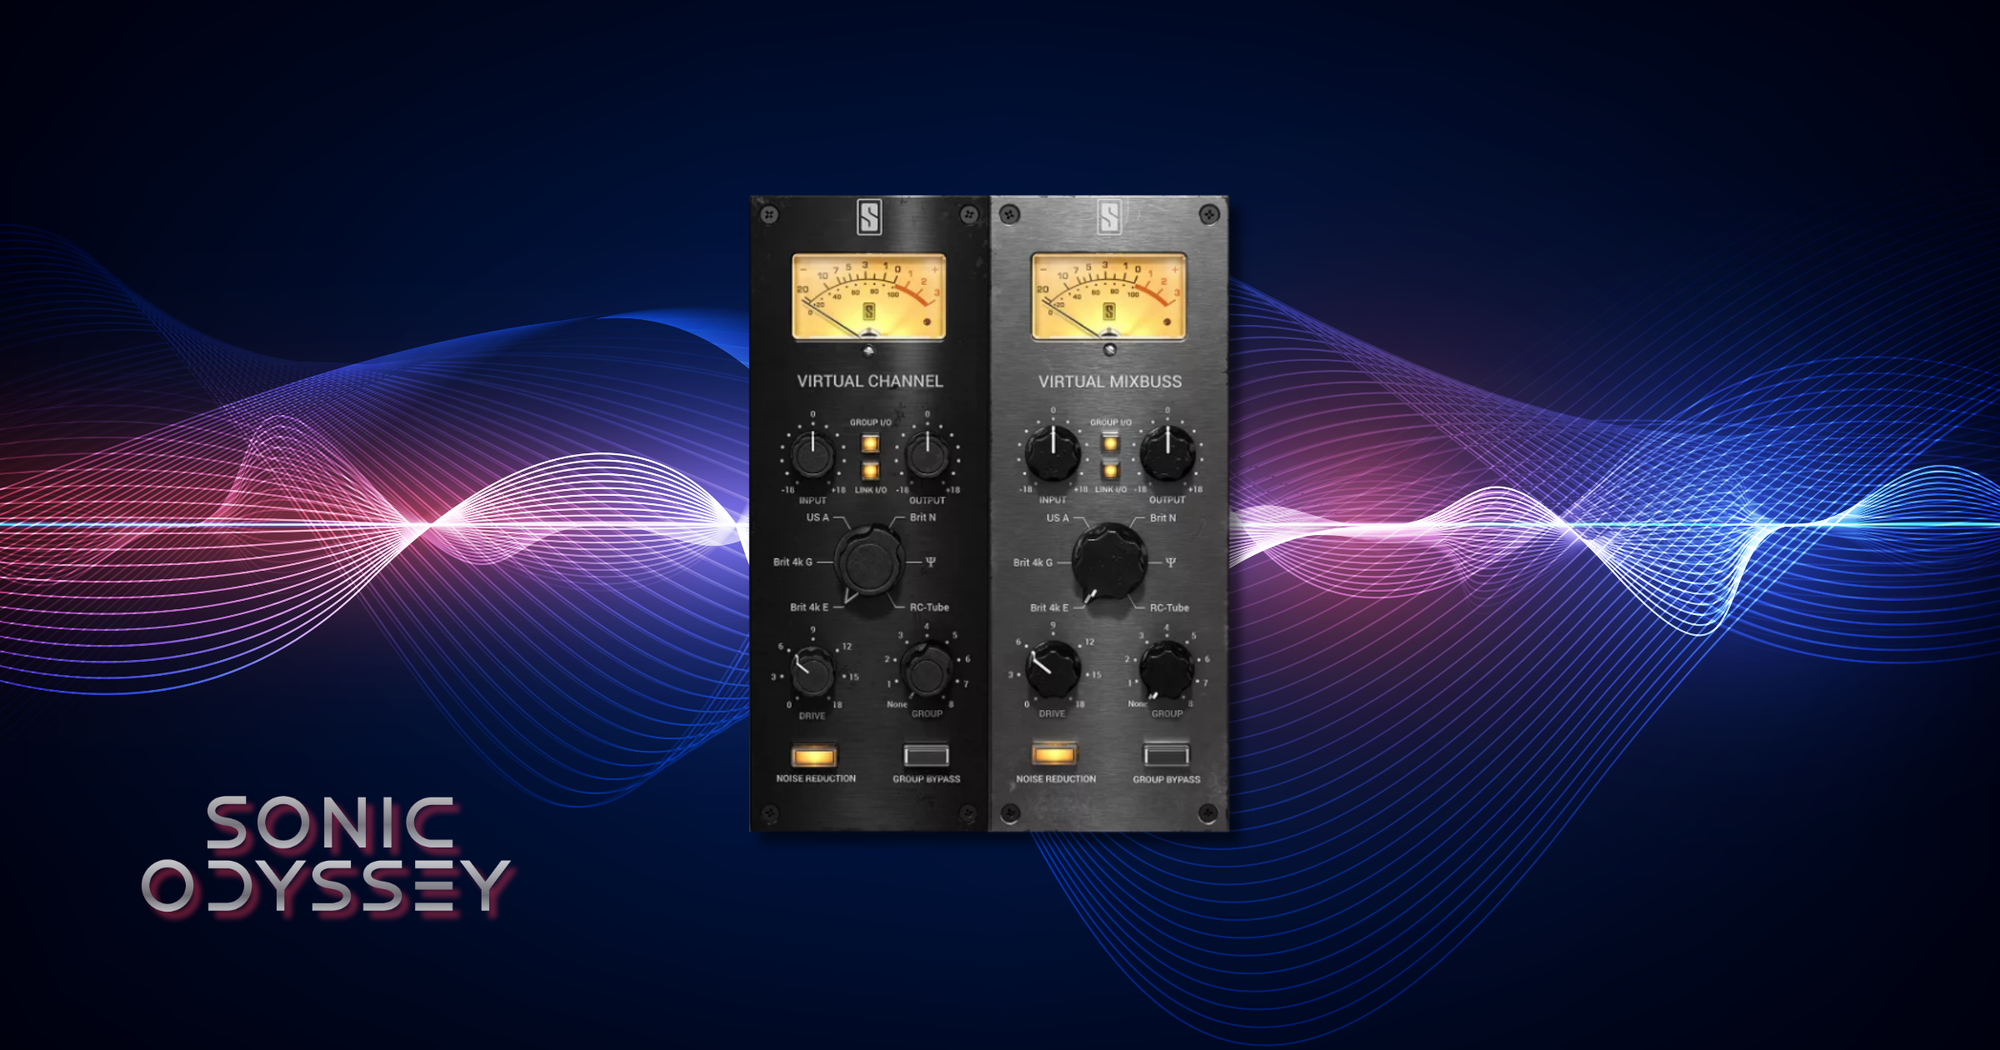
This is the next step in my chain right after VTM, and it also goes on everything. Every track, every bus, and the master. If VTM is adding tape character, this is where the mix starts to feel like it’s actually running through a console.
I’m not using the same setting everywhere. The whole point is to lean into different console flavors depending on what I’m working on.
Heavy rhythm guitars usually get the SSL E setting. It keeps things aggressive and forward without getting muddy. Vocals, leads, and keys get the Neve model since it adds a bit of thickness and weight in a way that just feels right. The rhythm section gets API because it stays punchy and tight. On the master, I stick with SSL G to keep things glued together without overdoing it.
This is one of those plugins where you don’t always notice it immediately, but you definitely notice when it’s missing. Without it, mixes tend to feel flat and disconnected.
Best For:
- Adding console-style tone and subtle saturation across every track
- Creating separation between instrument groups using different console flavors
- Building cohesion across buses and the master
Why It’s Here
I don’t like mixing without this. It’s one of the main reasons my mixes feel alive instead of sterile.
FabFilter Pro-Q 4
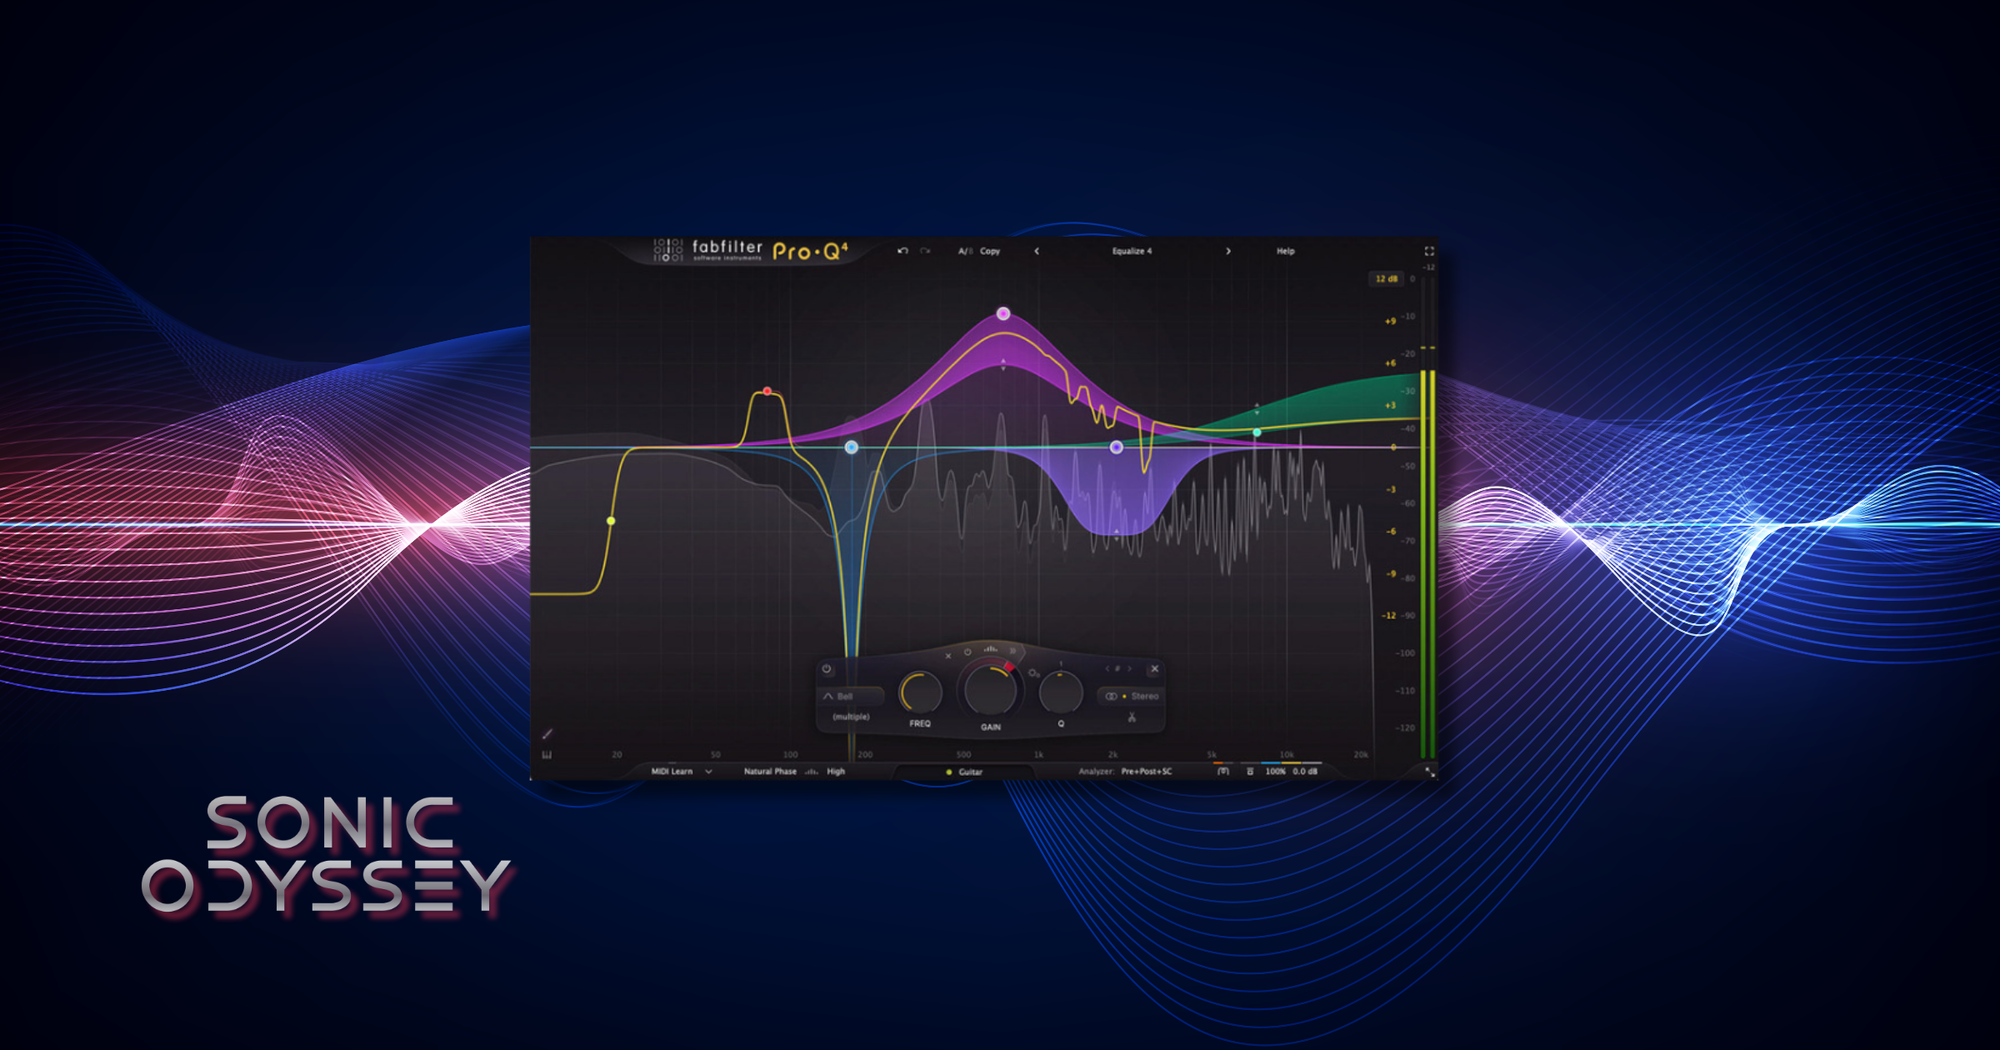
This is always the first EQ I reach for, and I don’t see that changing anytime soon. That doesn’t mean I don’t use character EQs like Pultecs or SSL and Neve-style EQs, but Pro-Q is where I go when I need to quickly figure out what actually needs to be fixed or shaped.
It’s fast. That’s the biggest thing. I can sweep, boost, cut, adjust bandwidth, and change shapes without breaking my flow. When I’m working through a mix, that speed matters more than anything.
The ability to solo bands is huge. If there’s harshness, ringing, or some weird buildup, I can isolate it immediately and deal with it without guessing. That alone saves a ton of time and keeps me from overcorrecting.
This is the plugin I use to get things where they need to be. Once that’s handled, I can decide if I want to add character somewhere else. But everything starts here.
Best For:
- Surgical EQ moves and problem solving
- Quickly identifying harsh frequencies or buildup
- Clean, precise shaping before adding character
Why It’s Here
If you can’t get a track sitting right with this, the problem probably isn’t the EQ.
Universal Audio Empirical Labs EL8 Distressor
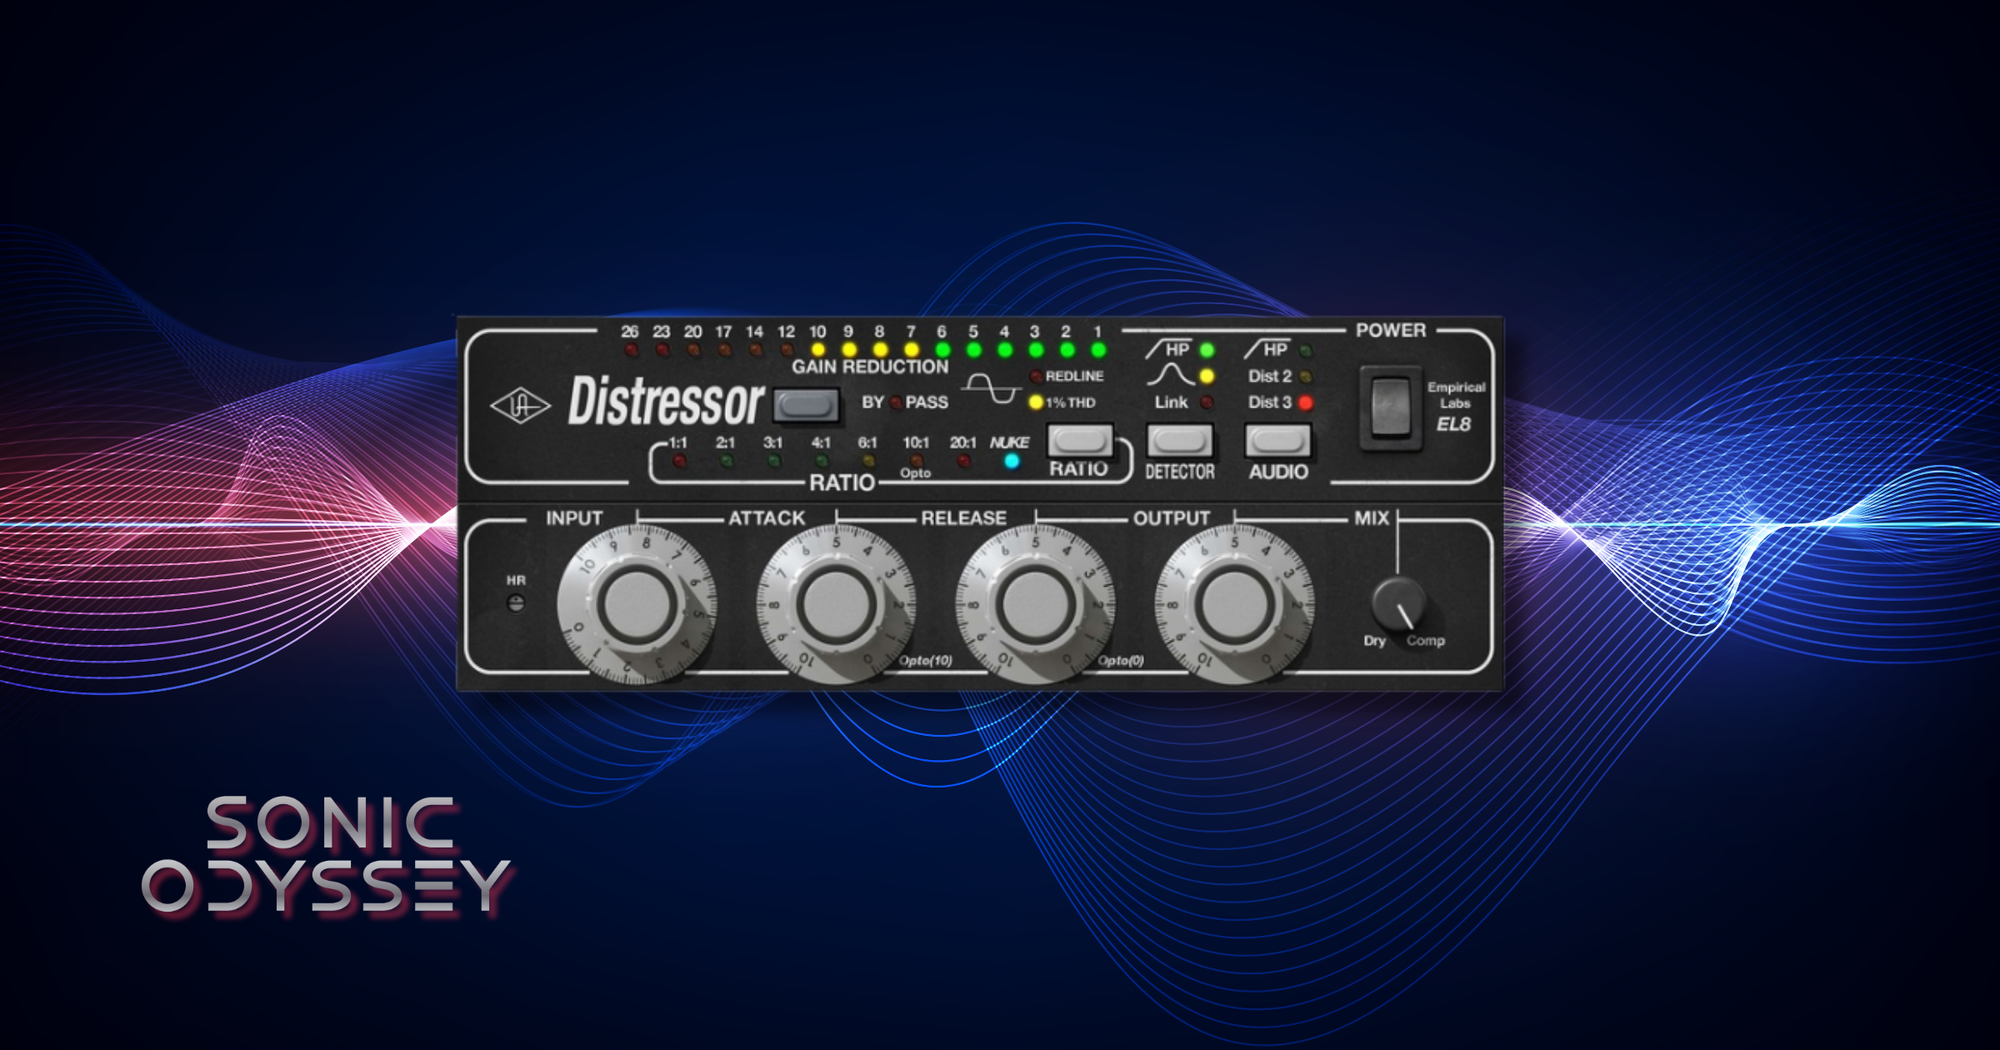
What do you even say about the Distressor? I use it so much that I once joked with a bandmate that our next album should be called Legacy of Distress. There’s also a real one sitting in my rack, so this isn’t just a plugin thing for me.
Empirical Labs gear has a very intentional personality to it. If you’ve ever read one of their manuals, you know exactly what I mean. It’s not trying to be clean or polite. It’s meant to be pushed, and it rewards you when you do.
At its core, this can absolutely function as a straightforward compressor. But that’s not why I reach for it. This is where things start to get a little more aggressive, a little more interesting. It can add density, bring things forward, and give a track a sense of attitude that cleaner compressors just don’t have.
I’ve got a few sweet spots I tend to land on depending on the source, but if I’m in doubt, I’ll flip it into opto mode and just go for it. Somewhere in that -10 to -20 dB of gain reduction range and suddenly things start to sit exactly where I want them.
It’s not subtle, and that’s the point.
Best For:
- Adding aggressive compression and forward energy
- Shaping tone and character, not just controlling dynamics
- Vocals, drums, and anything that needs to stand out
Why It’s Here
This is where things stop being clean and start sounding like a record.
Universal Audio LA-2A Tube Compressor
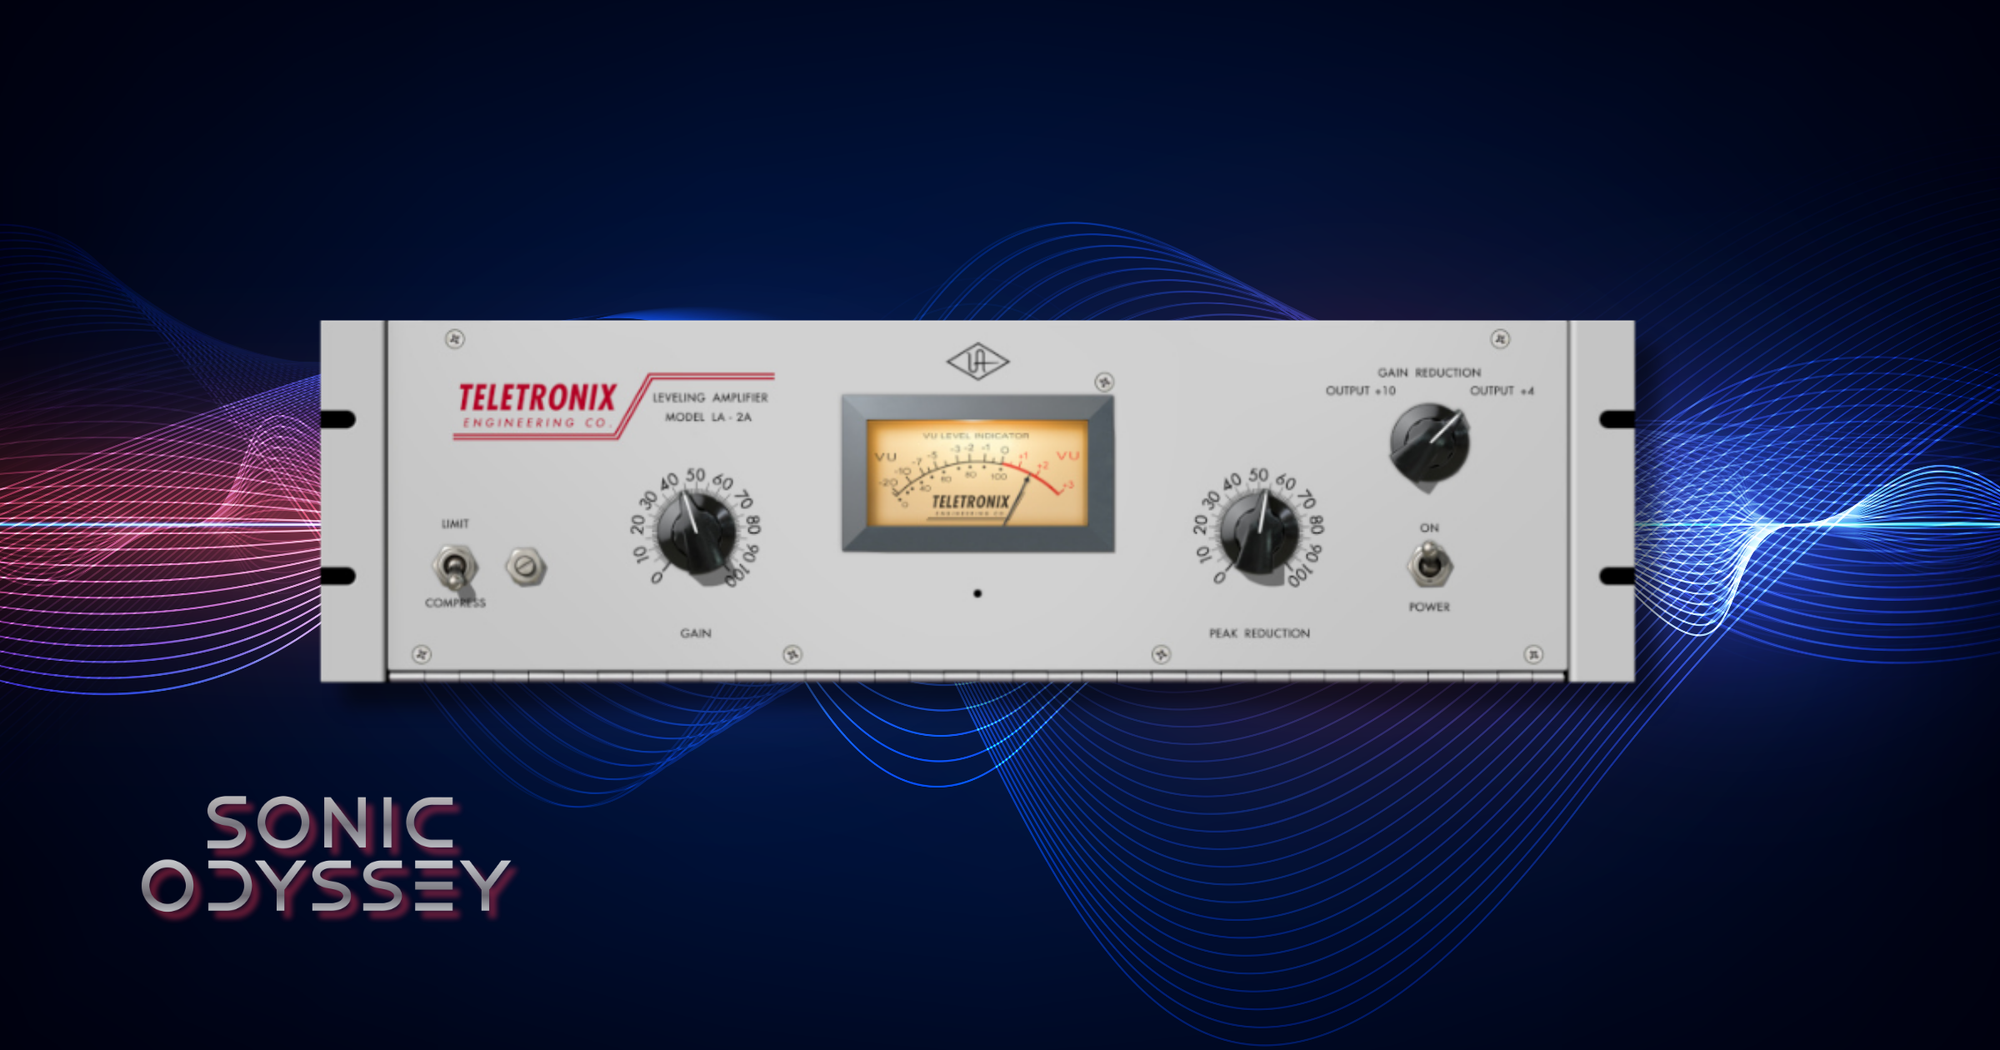
While I could use the Distressor for just about everything, and I already mentioned I lean on the opto mode a lot, sometimes you just go with the original.
The LA-2A is about as close to a perfect compressor as it gets. It’s simple, it’s smooth, and it’s almost impossible to make it sound bad. You can slam a vocal so hard that it’s likely a violation of the Geneva Convention and it still won’t sound compressed. It just sits where it’s supposed to.
This is usually where I go when I want control without drawing attention to it. The Distressor can be more aggressive and forward. The LA-2A is about leveling things out in a way that feels natural.
I also use it a lot on bass. If there are stray peaks jumping out, this takes care of them without killing the movement or feel of the track.
Best For:
- Smooth, transparent vocal leveling
- Controlling bass dynamics without losing feel
- Gentle compression that doesn’t sound obvious
Why It’s Here
When I want something controlled but still natural, this is the move.
Universal Audio 1176 FET Compressor
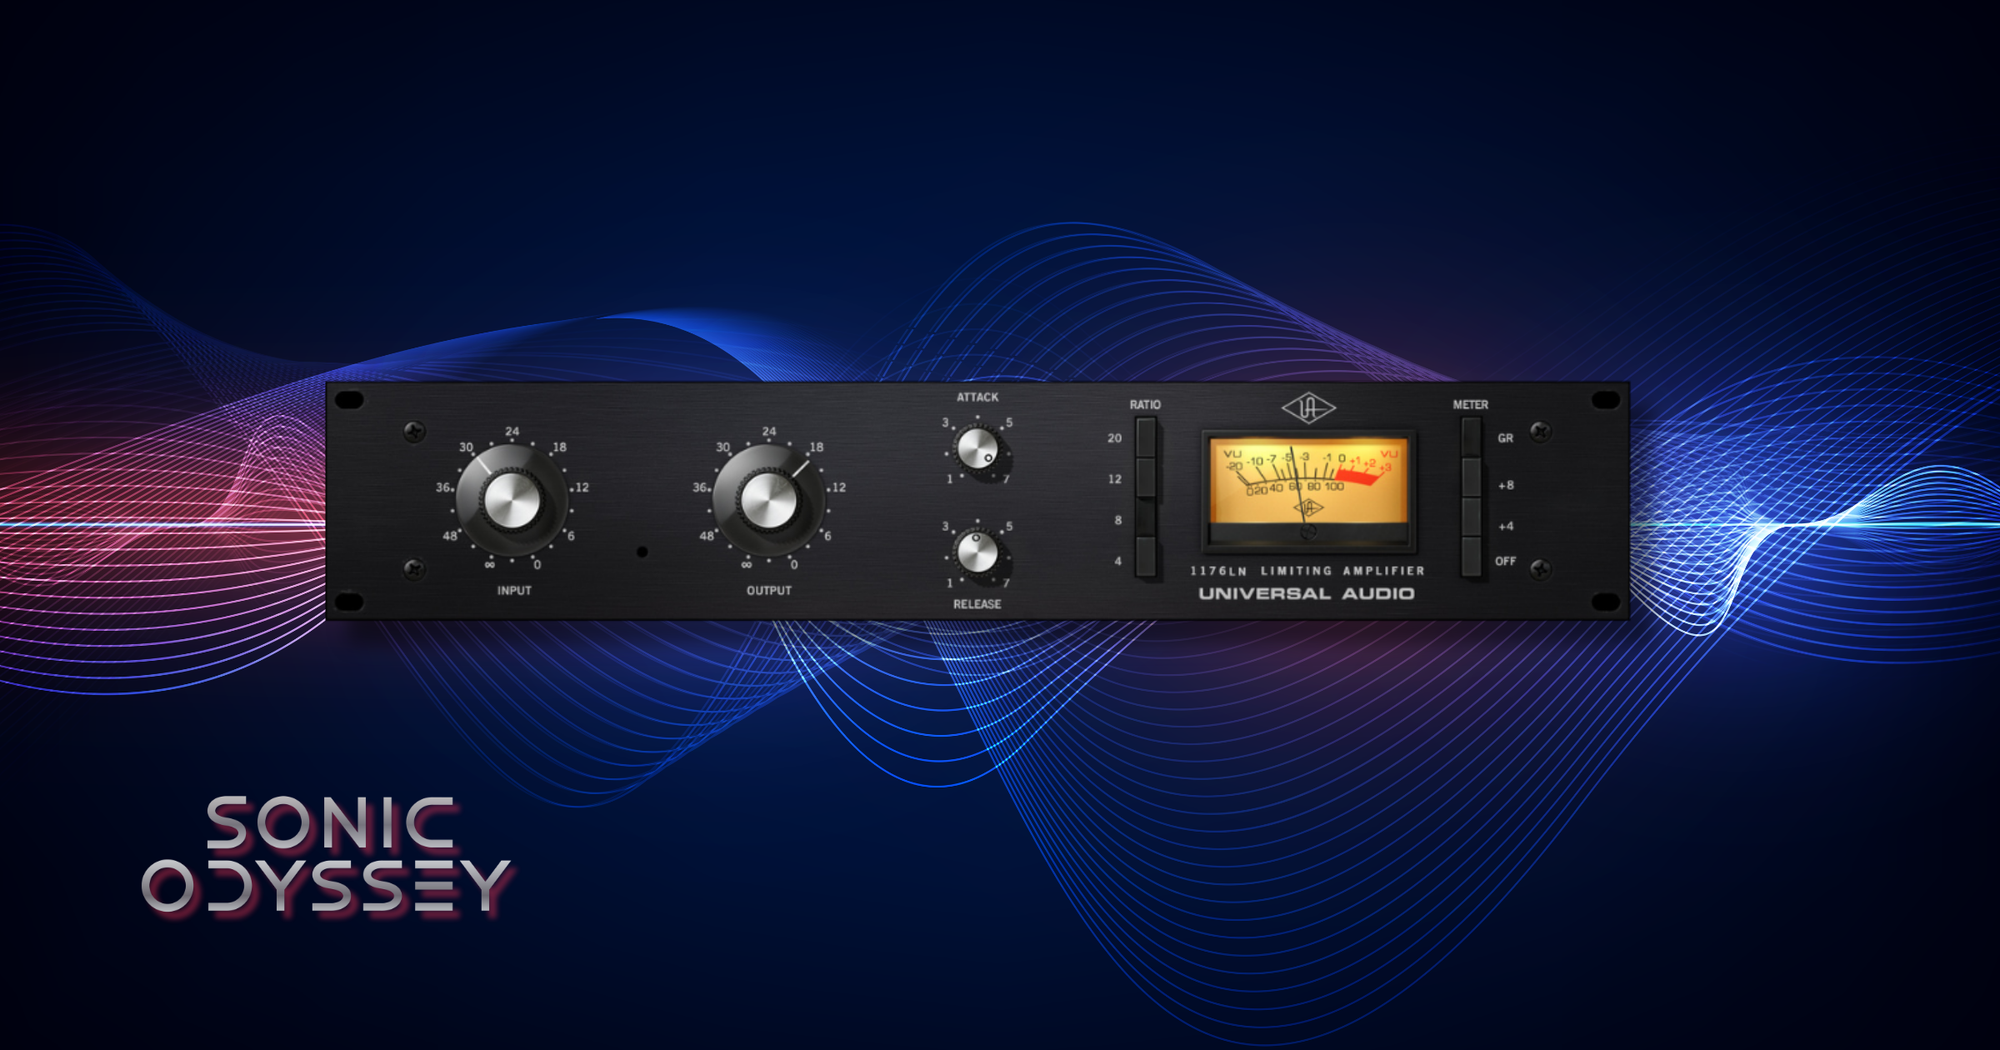
Another one of the classics that I reach for, as does pretty much every other producer, is the 1176. You can use it on just about anything, especially if you dial in the Dr Pepper settings (10/2/4).
My favorite use for it is on room mics, either at the 20:1 ratio or in the completely unhinged “all buttons in” mode. That’s where things start to get aggressive in a really fun way.
Compared to something like the LA-2A, this is much faster and more forward. It grabs transients hard and can bring a ton of energy to a track if you push it.
There are a ton of 1176 plugin emulations out there, and a lot of them are good. The CLA-76 bundle from Waves is probably the most well known. But I almost always end up using the UAD version. It just feels right.
Best For:
- Fast, aggressive compression with strong transient control
- Adding energy and presence to drums and room mics
- Parallel compression and “all buttons in” character
Why It’s Here
When I need something fast, punchy, and a little unhinged, this is where I go.
iZotope Nectar 4
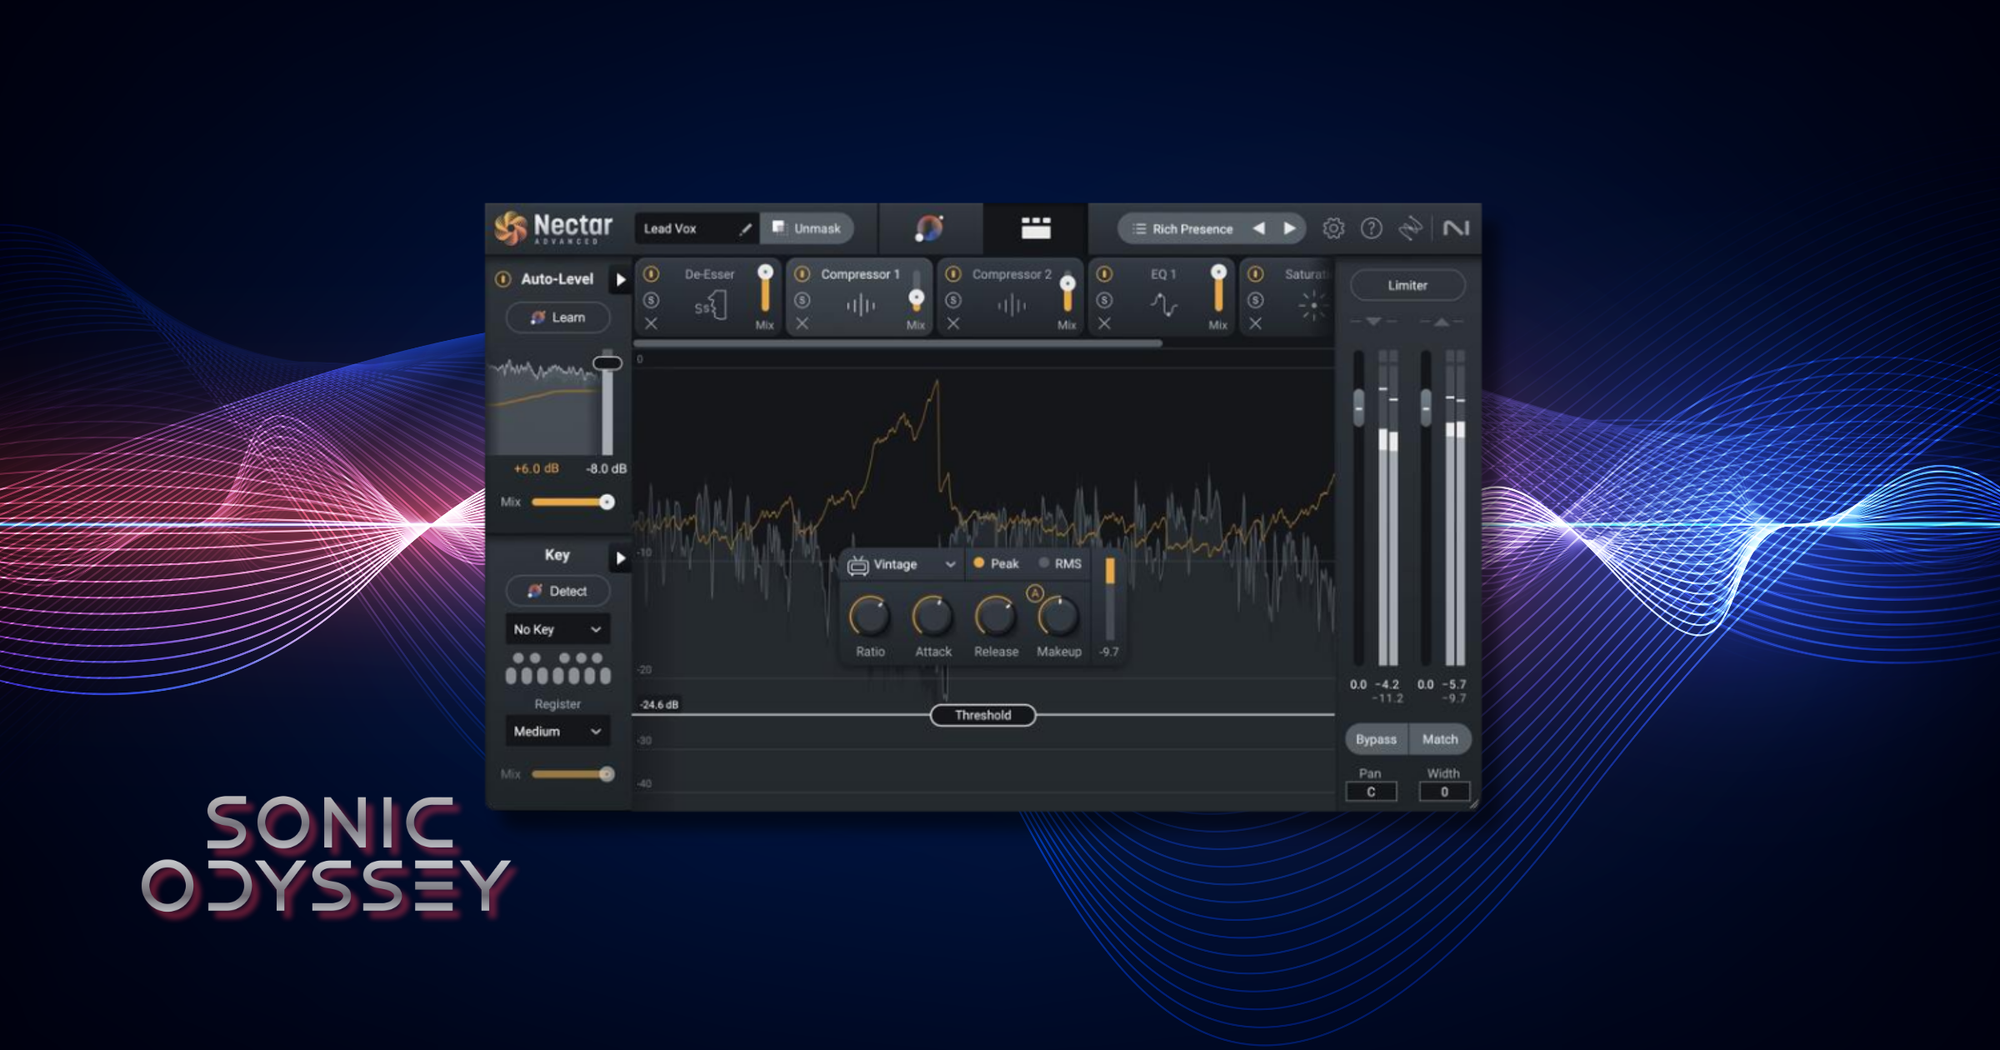
I’m sure there’s some misguided producer ethos, kind of like musicians refusing to admit they practice, about not using presets. That’s not me. I lean on presets pretty heavily in Nectar as a starting point.
There’s a lot going on in this plugin, and pulling up a stock preset gets me in the ballpark fast. From there, I can tweak what actually matters instead of building a vocal chain from scratch every time.
Nectar is basically a vocal channel strip with everything baked in. Two EQs, two compressors, multiple saturation modes, plus modulation, delay, and reverb. You can get a vocal 80 to 90 percent of the way there without reaching for anything else.
It’s not perfect. The harmonizer is barely passable, and some of the effects like “Backer” are just kind of silly. The Vocal Assistant can be useful as a starting point, but it’s not magic, and I wouldn’t call it AI in any meaningful sense.
Still, for speed and flexibility, it’s hard to beat.
Best For:
- Fast vocal processing using preset-based starting points
- Building complete vocal chains inside a single plugin
- Dialing in polished vocals without overcomplicating things
Why It’s Here
When I need to get a vocal sounding good quickly, this gets me there faster than almost anything else.
Waves Renaissance Vox (RVox)
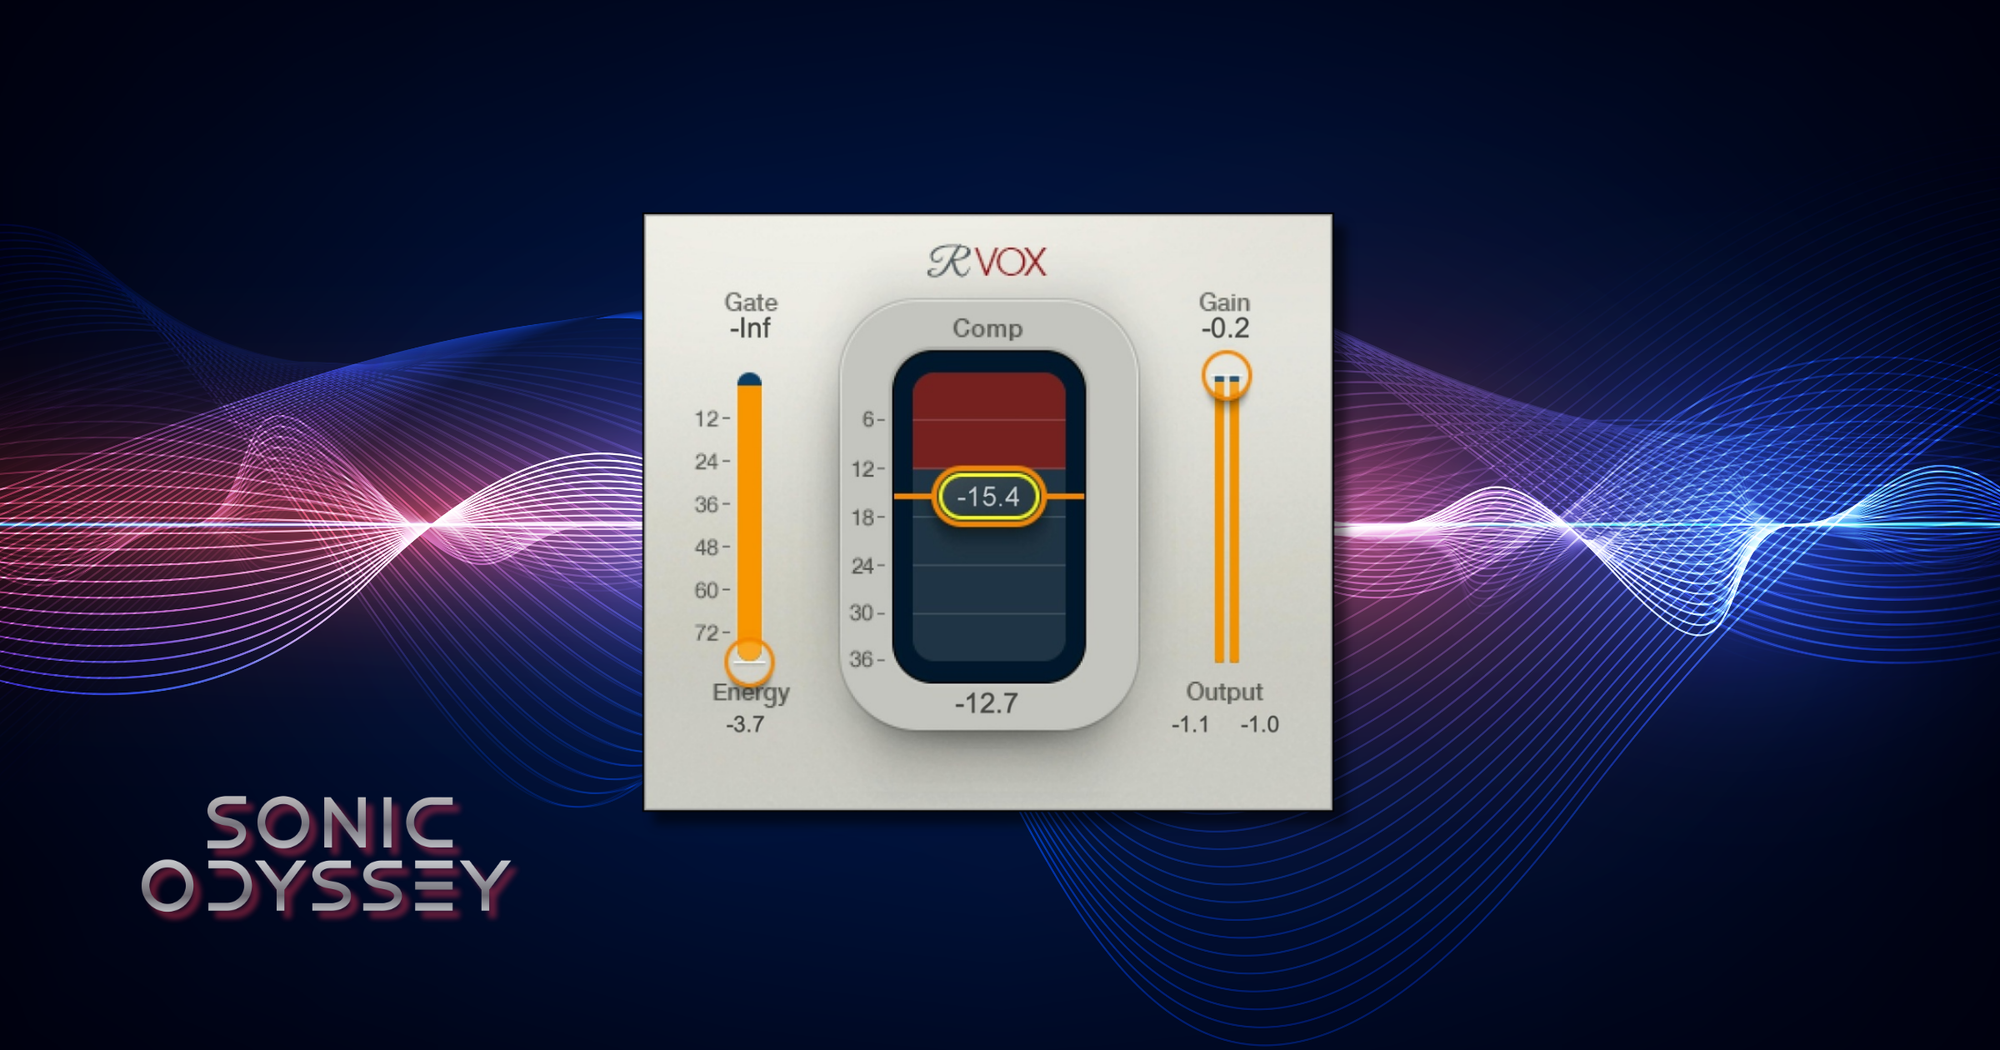
While it may be ridiculous to call using a Waves plugin a secret trick, RVox is a core part of how I keep vocal levels consistent across a track.
My usual chain here is pretty simple. After Nectar, I’ll drop in a Distressor set to around a 3:1 ratio to get things under control. From there, it runs straight into RVox, usually set for around 4 dB of attenuation.
RVox is about as straightforward as it gets. There’s not much to tweak, and that’s part of the appeal. You set it, listen, and it just works. It has a way of keeping vocals locked in place without sounding overprocessed.
The entire Renaissance suite is great. I still use RenAxx, RComp, and RVerb regularly. They're simple and they get the job done
Best For:
- Keeping vocal levels consistent throughout a mix
- Simple, fast compression with minimal setup
- Locking vocals in place without overthinking it
Why It’s Here
This is one of those plugins that just works. No fuss, no chasing settings, just consistent results.
If you’re building your setup, stop paying full price. We track the best deals from Plugin Boutique and update them constantly so you can grab top-tier tools before the prices jump back up.
Featured Plugin Deals: The best plugins worth buying—at prices that actually make sense.
Newest Plugin Deals: Fresh discounts just added. This is where the newest steals show up.
Deals Ending Soon: Prices about to go back up. If you’re even thinking about it, check these first.
Plugin Deals Hub: Browse all current deal pages across categories like EQ, reverb, delay, and more.
Get the deals now:
👉 Featured Plugin Deals
👉 Newest Plugin Deals
👉 Plugin Deals Ending Soon
👉 Browse All Plugin Deals
Waves H-Delay
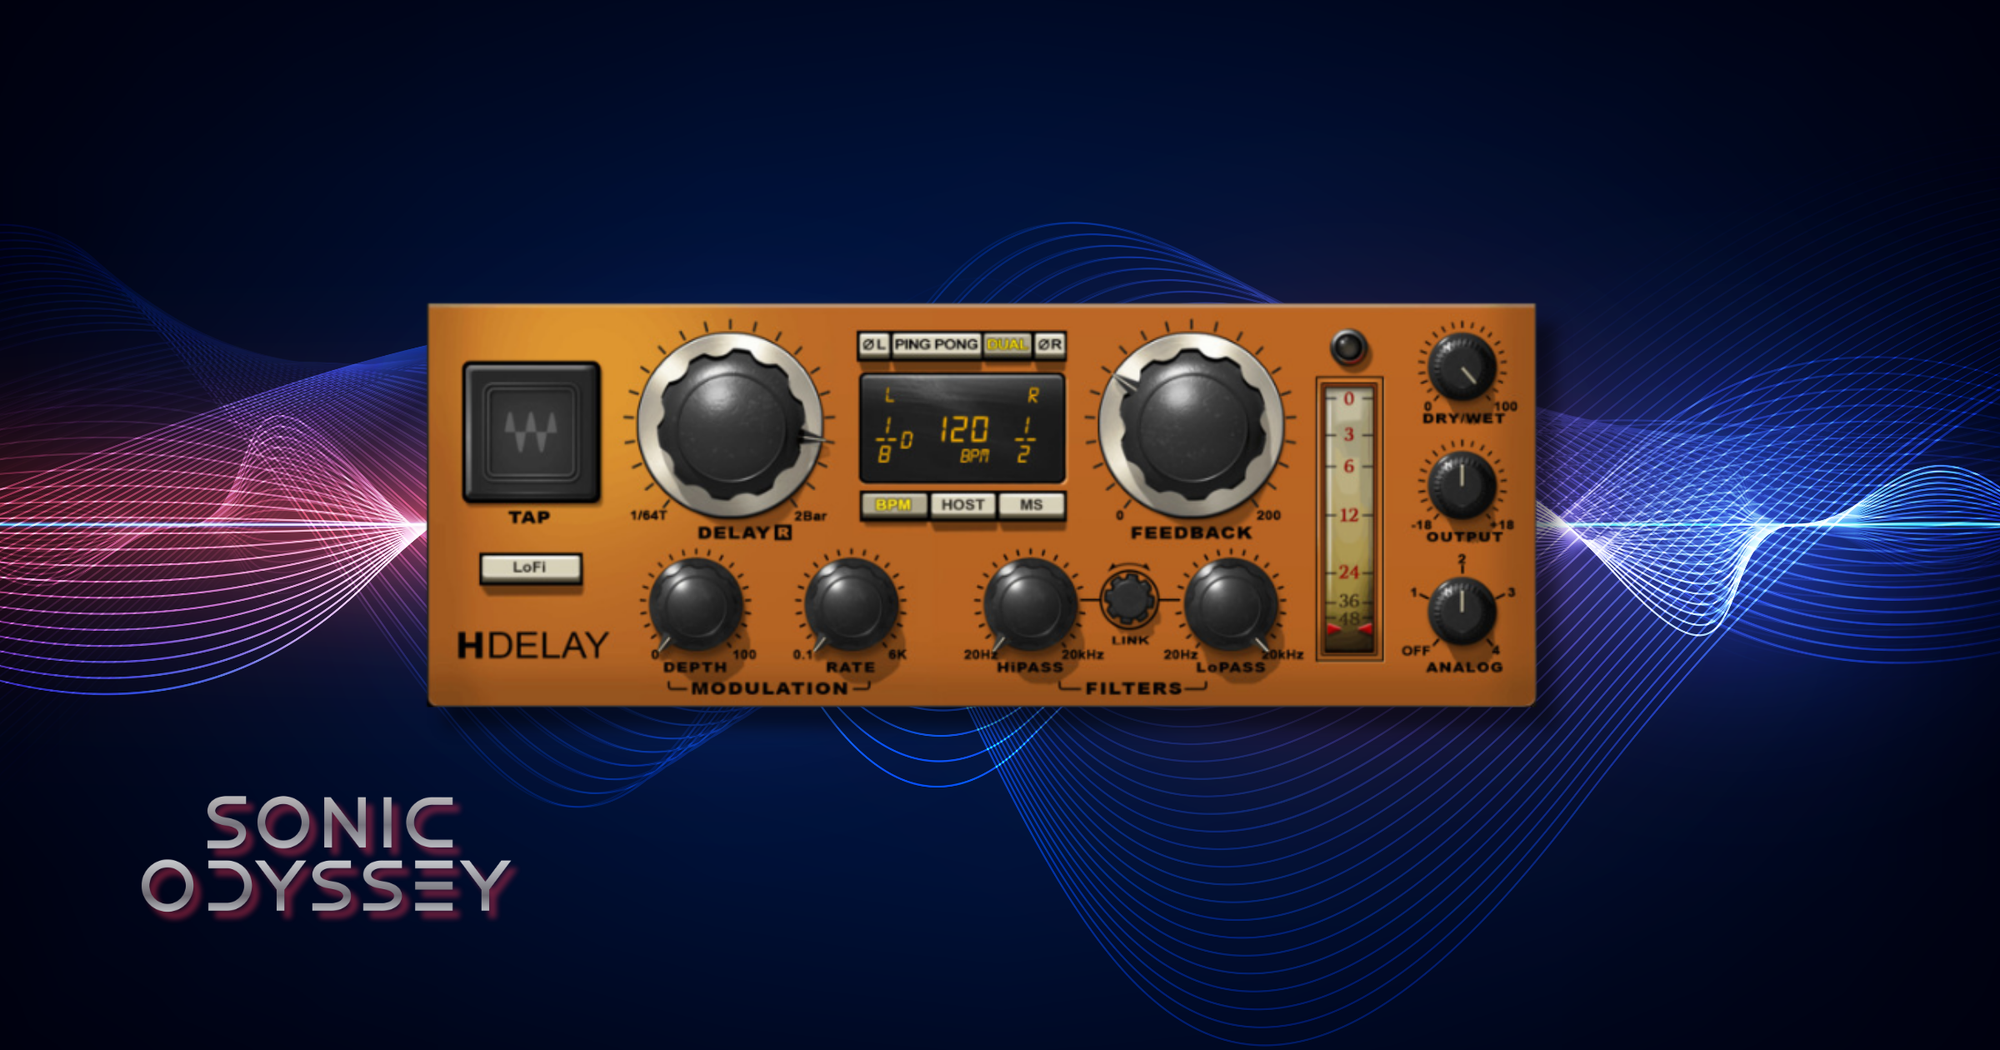
This is where I admit I have a problem, and that problem is H-Delay.
I have no plans to fix it. I’m just going to keep putting crusty, crunchy, warbly, filtered, borderline out-of-control analog-style delay all over my tracks.
H-Delay can be clean if you want it to be, but that’s not why I use it. This is for character. The built-in filtering, modulation, and lo-fi options make it really easy to push things into that slightly degraded, moving, analog space that sits in a mix without getting in the way.
It’s also just fast. I can throw it on a send, dial in a tempo sync or free time delay, roll off some top and bottom, add a little modulation, and it’s immediately doing something useful.
Most of the time, I’m not using delay as a clean repeat. I’m using it as texture, movement, and space. H-Delay does that better than almost anything else I’ve used.
Best For:
- Analog-style delay with grit, modulation, and movement
- Creating depth and texture without cluttering the mix
- Quick, flexible delay setups on sends or inserts
Why It’s Here
If a mix feels too static, this is one of the fastest ways to bring it to life.
FabFilter Pro-R 2
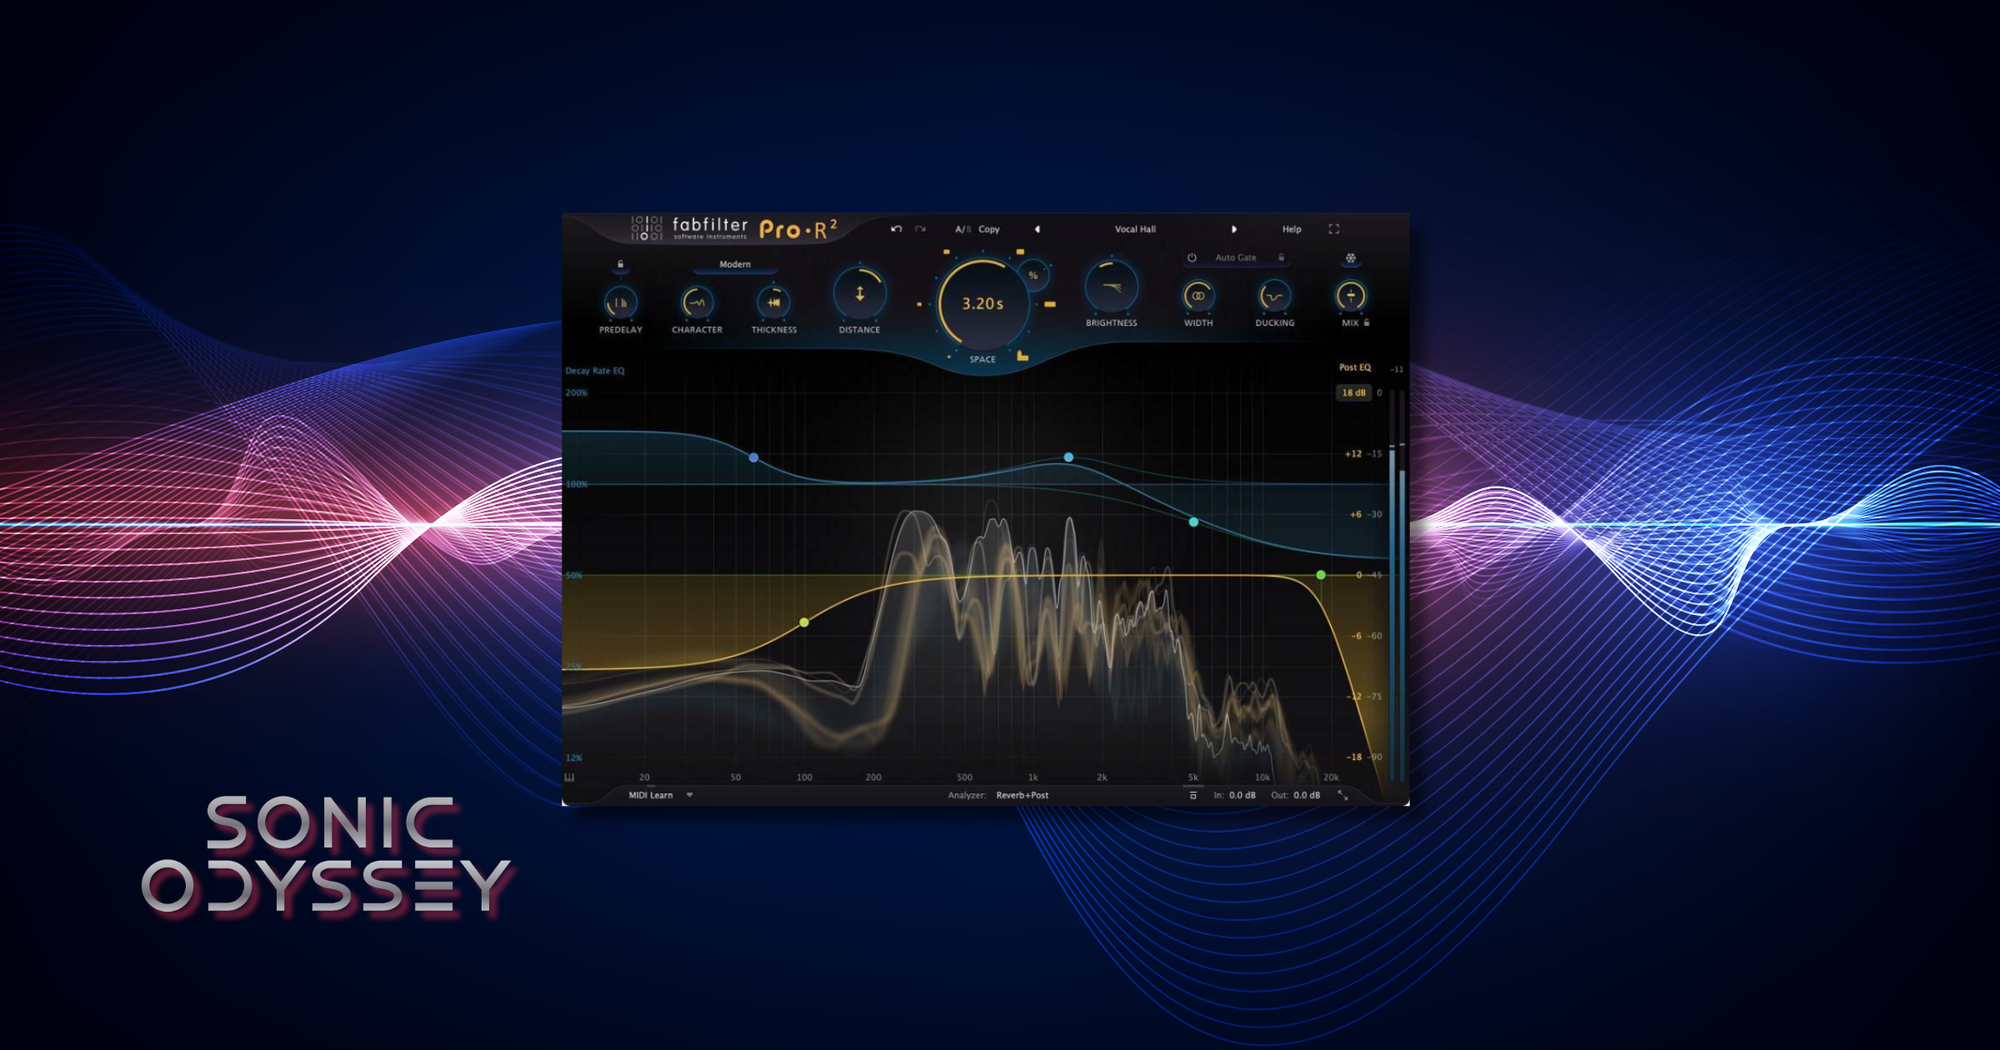
I’ll also admit to having a problem with reverb. If you’ve heard any of my mixes, they tend to lean heavy on it, especially the early stuff. Jens Bogren himself had to talk me down from using so much reverb on vocals when Fascination Street mastered the third Northern Crown album. Guilty as charged.
My main partner in crime these days is Pro-R 2. Like most FabFilter plugins, it’s just ridiculously well done. Clean when you need it, but flexible enough to shape into something more interesting.
I usually run two separate reverb sends. One mono, one stereo. The mono send is typically a moderately sized plate. That feeds into the stereo send, which is a wider room or hall. This gives me a tight, focused early reflection from the plate and then a bigger sense of space around it.
Sometimes I’ll just run both on the same send. That way I get a quick metallic slap from the plate along with a more lush, ambient tail from the room or hall. It's perhaps a bit involved but it works.
Best For:
- Clean, flexible reverb that can fit into any mix
- Building layered reverb spaces with multiple sends
- Adding depth without losing clarity
Why It’s Here
This is my go-to when I want space that feels intentional instead of muddy.
Soundtoys MicroShift
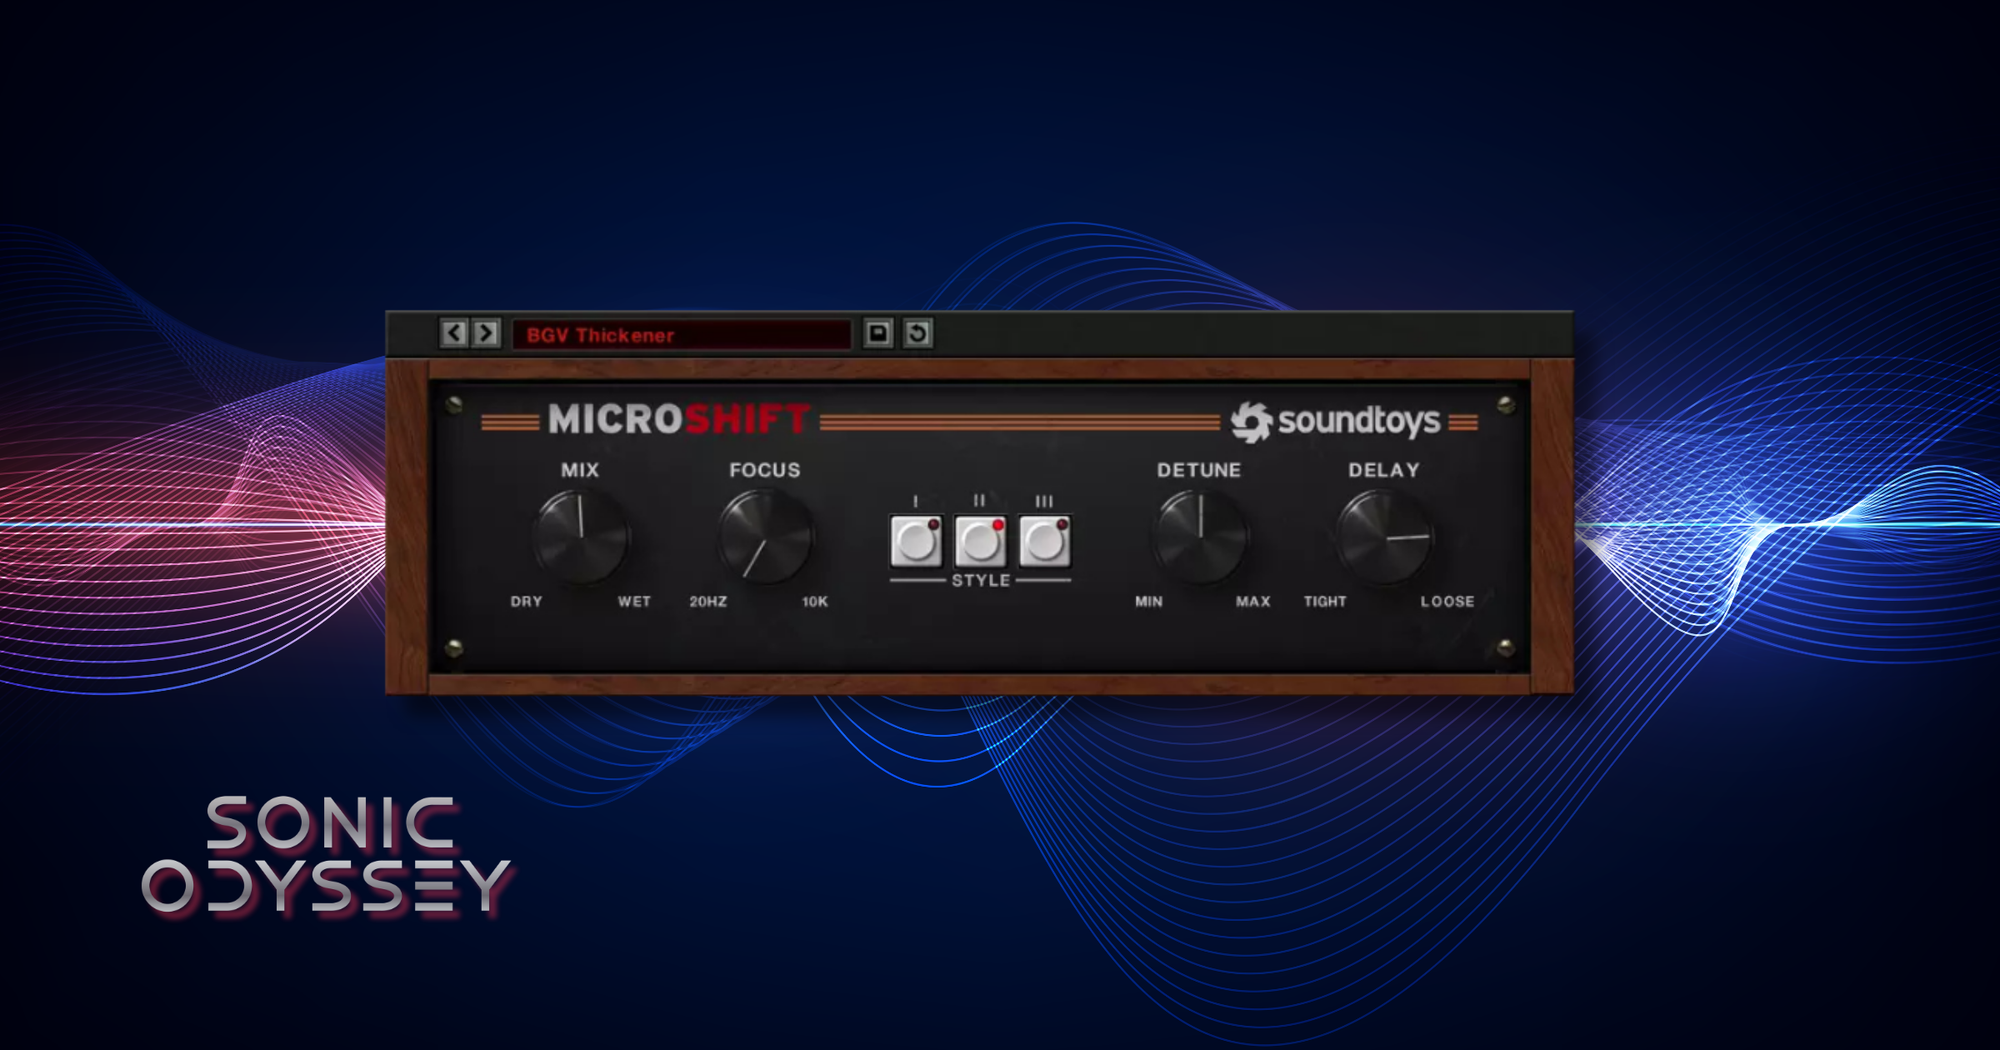
I’m a bit obsessed with making my mixes sound wide. That’s been a lifelong pursuit and I don’t see that changing anytime soon.
MicroShift is one of the plugins I lean on to get there. I usually drop it in near the end of a chain on a vocal, lead, or keyboard bus. Most of the time I’ll start with the “Air” preset and go from there.
From there it’s just a matter of sweeping the Focus control until it sits right. It’s a small adjustment, but it makes a big difference in how the width feels in the mix.
What I like about MicroShift is that it doesn’t just make things wider. It adds a subtle chorus-like shimmer and can even smooth out some harshness in the process. It’s one of those effects that you feel more than you hear when it’s dialed in right.
Best For:
- Adding width to vocals, leads, and keyboards
- Subtle modulation and chorus-style enhancement
- Smoothing harshness while expanding stereo image
Why It’s Here
If a mix feels narrow, this is one of the easiest ways to open it up without making things messy.
Brainworx bx_digital V3
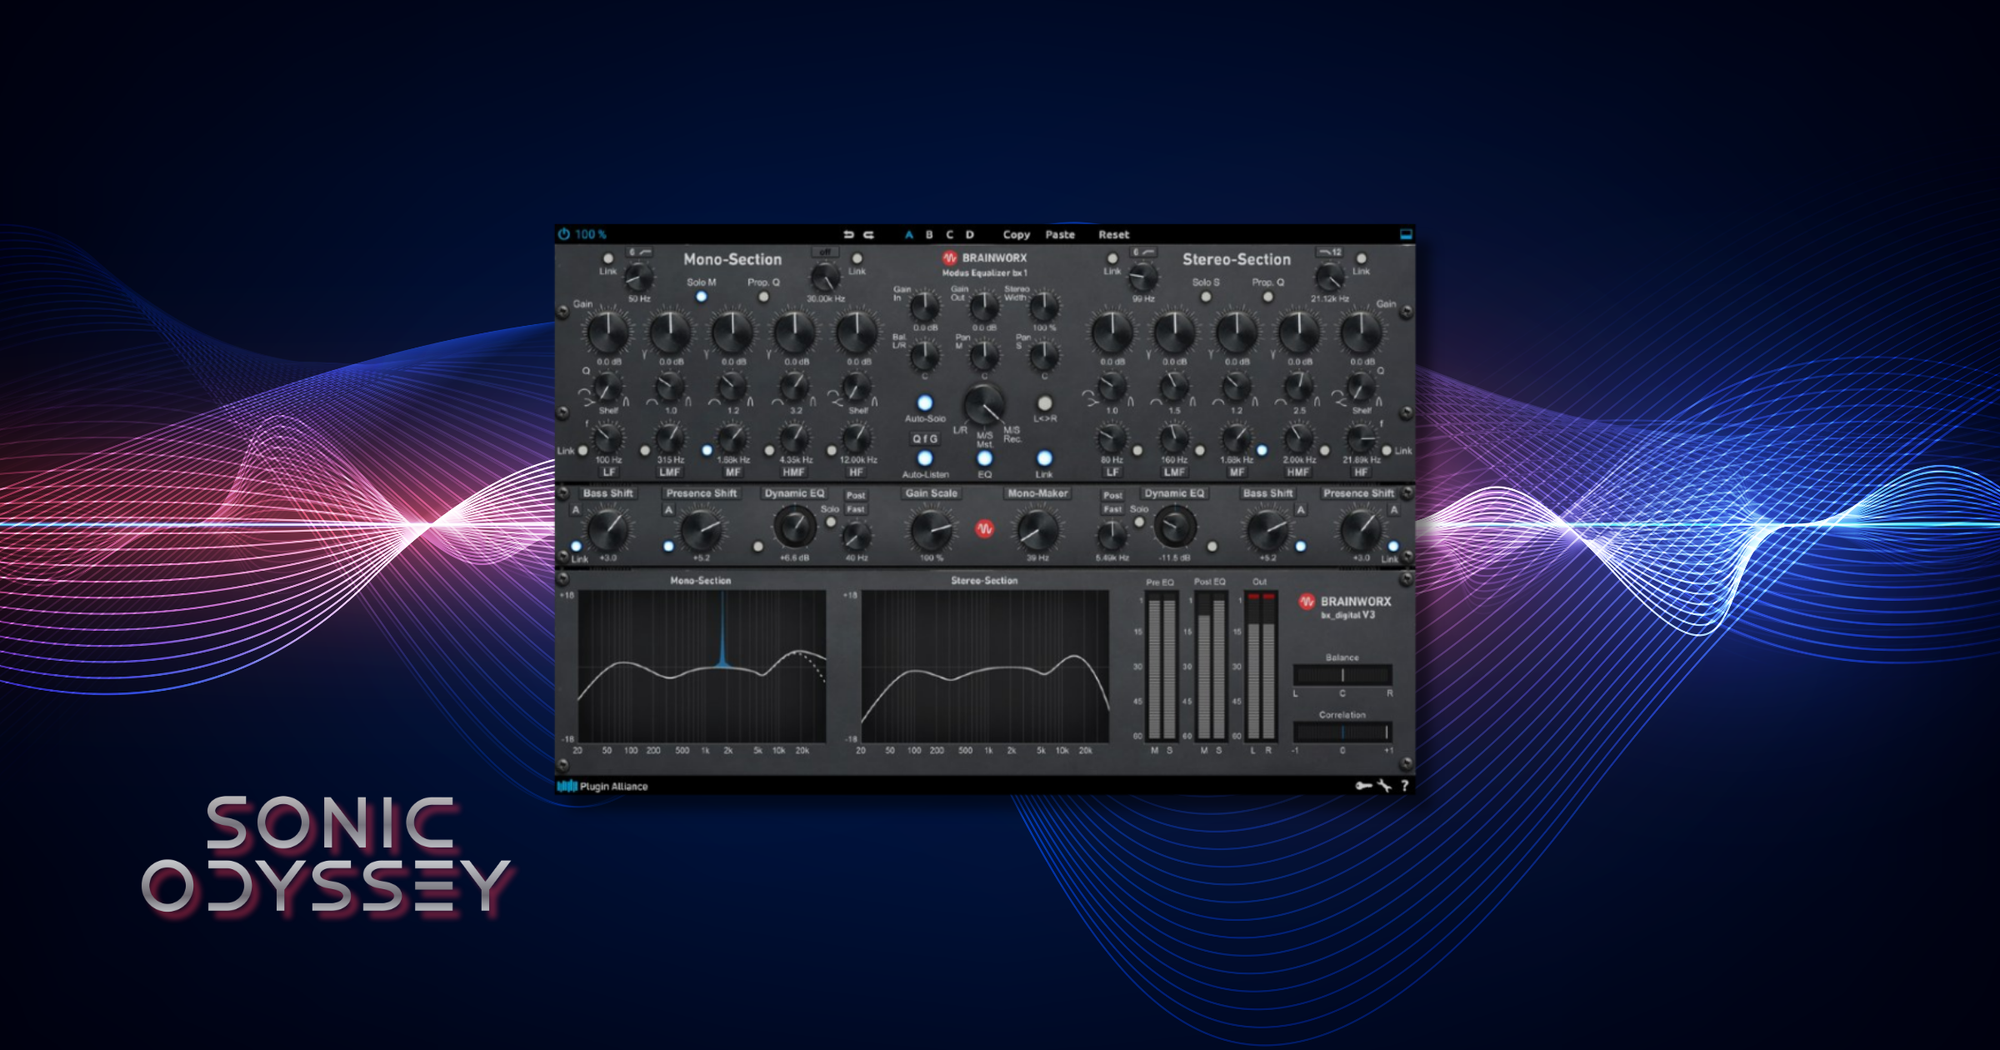
bx_digital is an incredible plugin. It’s flexible, pristine, and one of the cleanest, most transparent EQs out there.
And I don’t use it for that.
I use bx_digital for exactly one thing. More width.
This usually ends up on mix buses where I’ll push the stereo width control until the mix has the horizontal space I’m looking for. It’s a really easy way to open things up without having to start reworking individual tracks.
What makes it work is that it stays clean even when you push it. It doesn’t feel like it’s smearing the mix or doing anything weird to the center. It just makes things feel bigger.
Best For:
- Increasing stereo width on buses and full mixes
- Subtle mid/side adjustments without degrading clarity
- Clean, transparent stereo enhancement
Why It’s Here
Sometimes you don’t need another EQ move. You just need the mix to feel bigger.
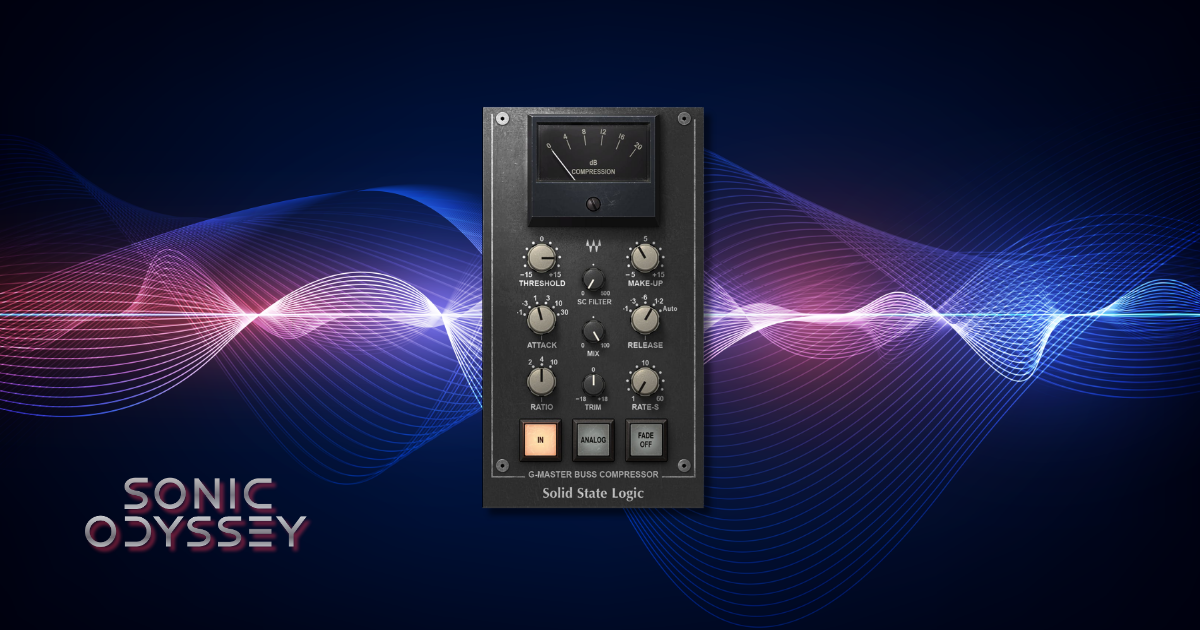
Waves SSL G-Master Buss Compressor
IYKYK.
The SSL G Master Buss Compressor is one of the best ways to get a mix that sounds cohesive and glued together. It’s simple. Turn the attack and release all the way to the right (30/Auto), set the ratio to 4:1, and bring the threshold down until you’re getting around 4 dB of gain reduction. Then adjust the make-up gain to compensate.
That’s it.
You should be mixing into this, not throwing it on at the end and hoping it fixes things.
This is another piece of gear I love enough to own in hardware. There’s just something about what it does to a mix when it’s set right. Everything starts to feel like it belongs together.
There are a bunch of software versions out there, and most of them get the job done. I usually reach for the Waves version.
Best For:
- Gluing mixes together on the master bus
- Adding cohesion and consistency across tracks
- Subtle bus compression during the mixing process
Why It’s Here
If your mix feels like a collection of tracks instead of a finished record, this is one of the fastest ways to fix that.
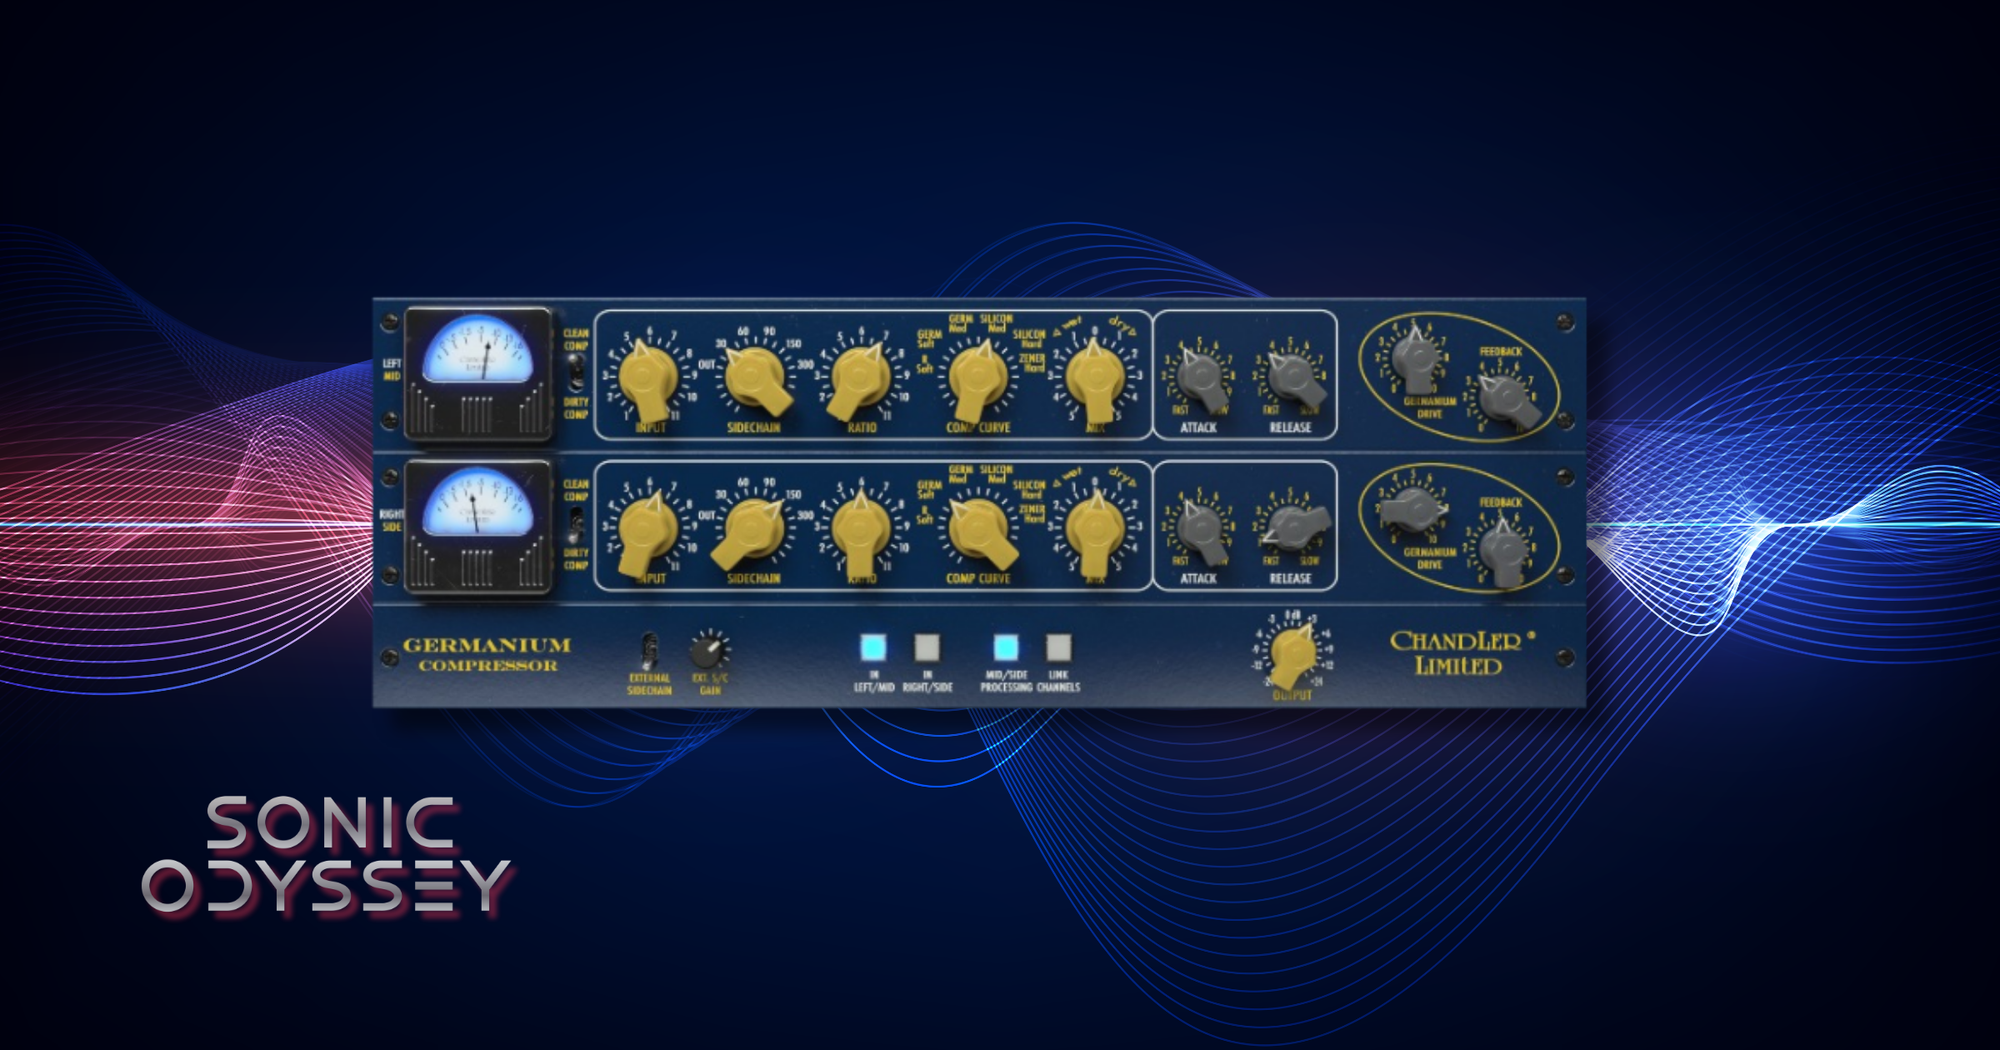
Softube Chandler Limited® Germanium Compressor
I think it’s important to look outside the genre you usually work in if you want to keep growing. That’s especially true in metal, where there can be some very narrow ideas about how things are supposed to be done.
One of the best things I picked up came from Michael Brauer. He uses the Chandler Germanium Compressor on the mix bus in a very specific way, and once I tried it, it stuck.
This now ends up on all of my mixes.
What it brings is weight. The low end gets thicker, but not in a way that overwhelms everything else. It just fills things out and makes the mix feel more solid. It’s subtle, but once you hear it, it’s hard to go back.
This is one of those pieces that changed how I think about the mix bus. It’s not just about control or glue. It’s about tone.
At some point, I’ll absolutely have a pair of these in hardware.
Best For:
- Adding low-end weight and thickness on the mix bus
- Subtle tonal shaping during mix bus processing
- Learning non-traditional approaches from outside your genre
Why It’s Here
This is where the mix stops being clean and starts having weight.
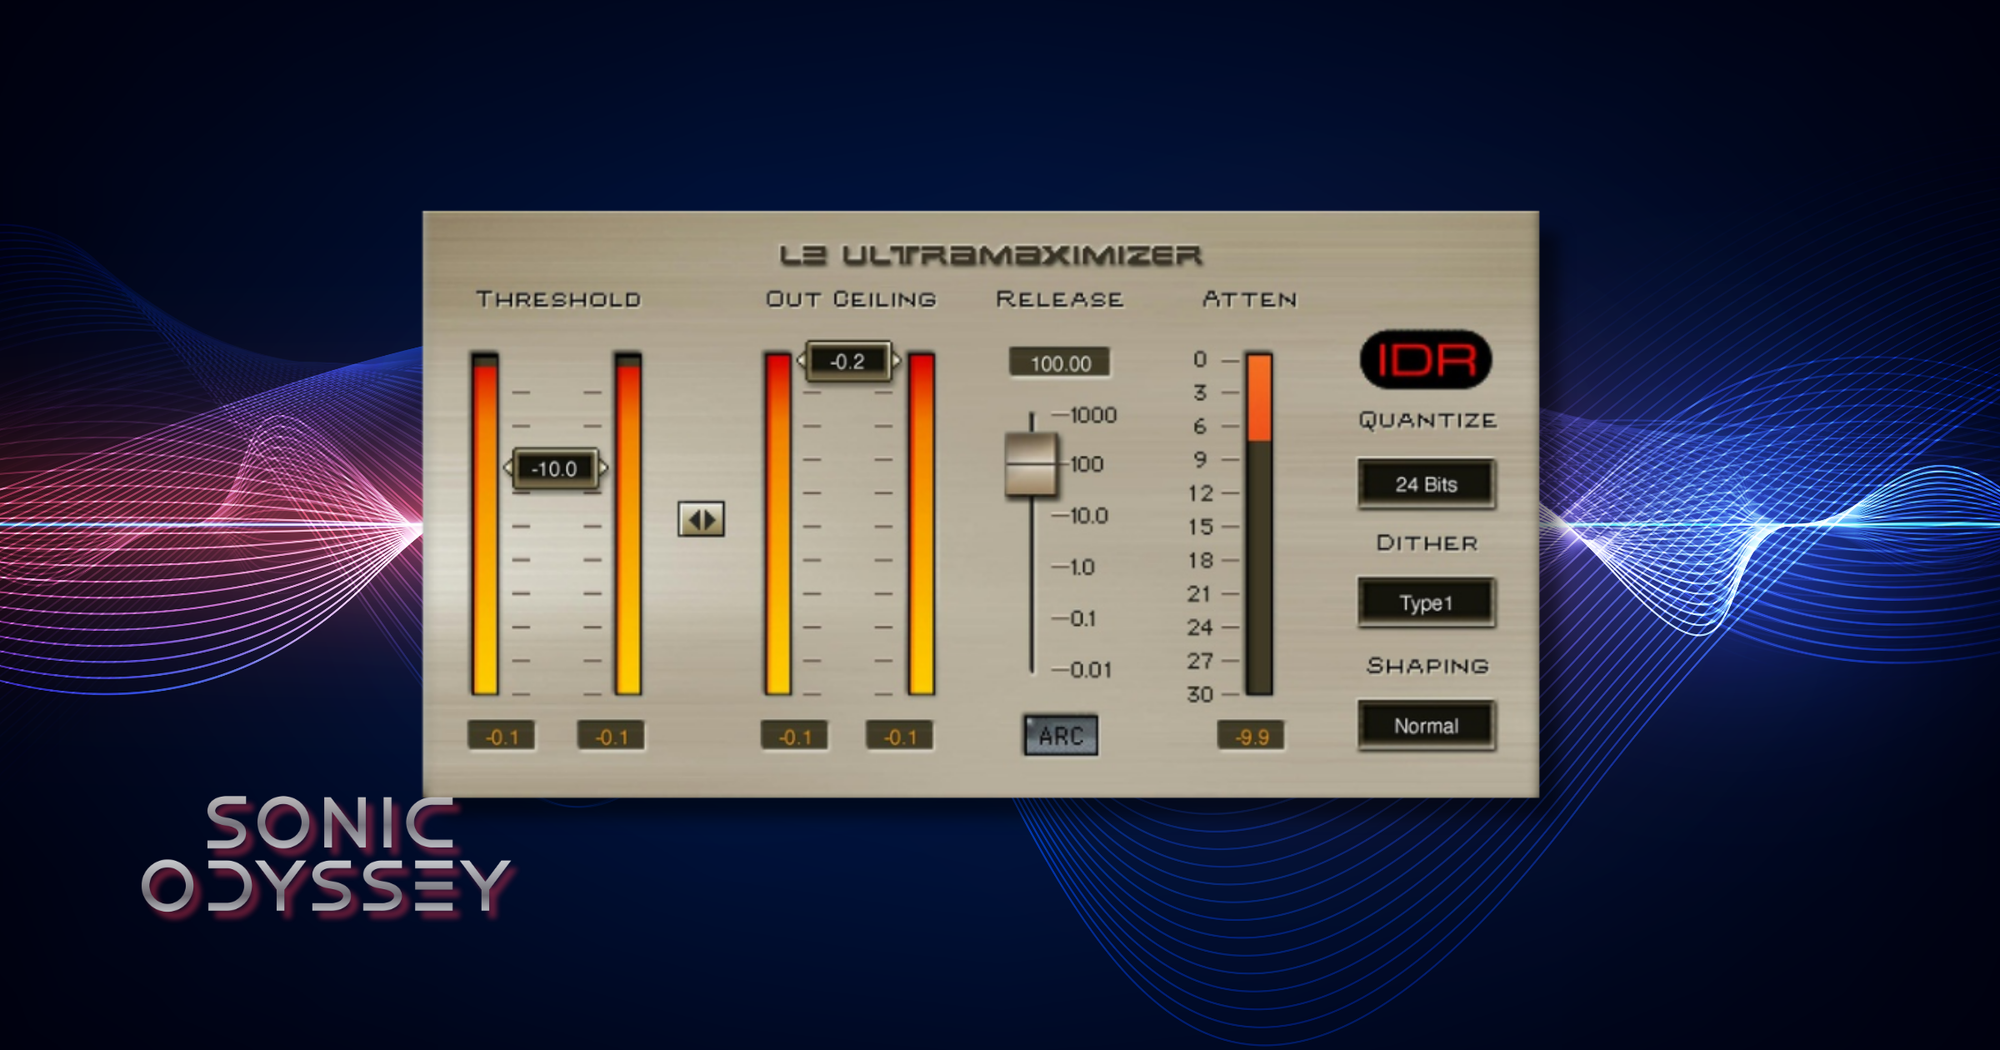
Waves L2 Ultramaximizer
This could easily turn into a long rant about limiting, compression, and the loudness wars, but it won’t.
The reality is simple. You need a solid mastering-grade limiter, and Waves L2 is still a great place to start.
A good baseline is setting your output ceiling to -1 dB and then lowering the threshold until you’re getting around 3 dB of gain reduction. Depending on the mix, that can give you a noticeable increase in loudness without crushing everything.
L2 is straightforward and predictable. You know what it’s going to do, and it does it well. That’s exactly what you want at this stage.
There are plenty of great alternatives out there. I’ve been using A.O.M. Invisible Limiter more lately, and it’s excellent. But L2 is still one of the easiest ways to get a clean, controlled result.
Best For:
- Final loudness control during mastering
- Simple, predictable limiting with minimal setup
- Increasing perceived loudness without destroying dynamics
Why It’s Here
At the end of the chain, you don’t need complexity. You need something that works.
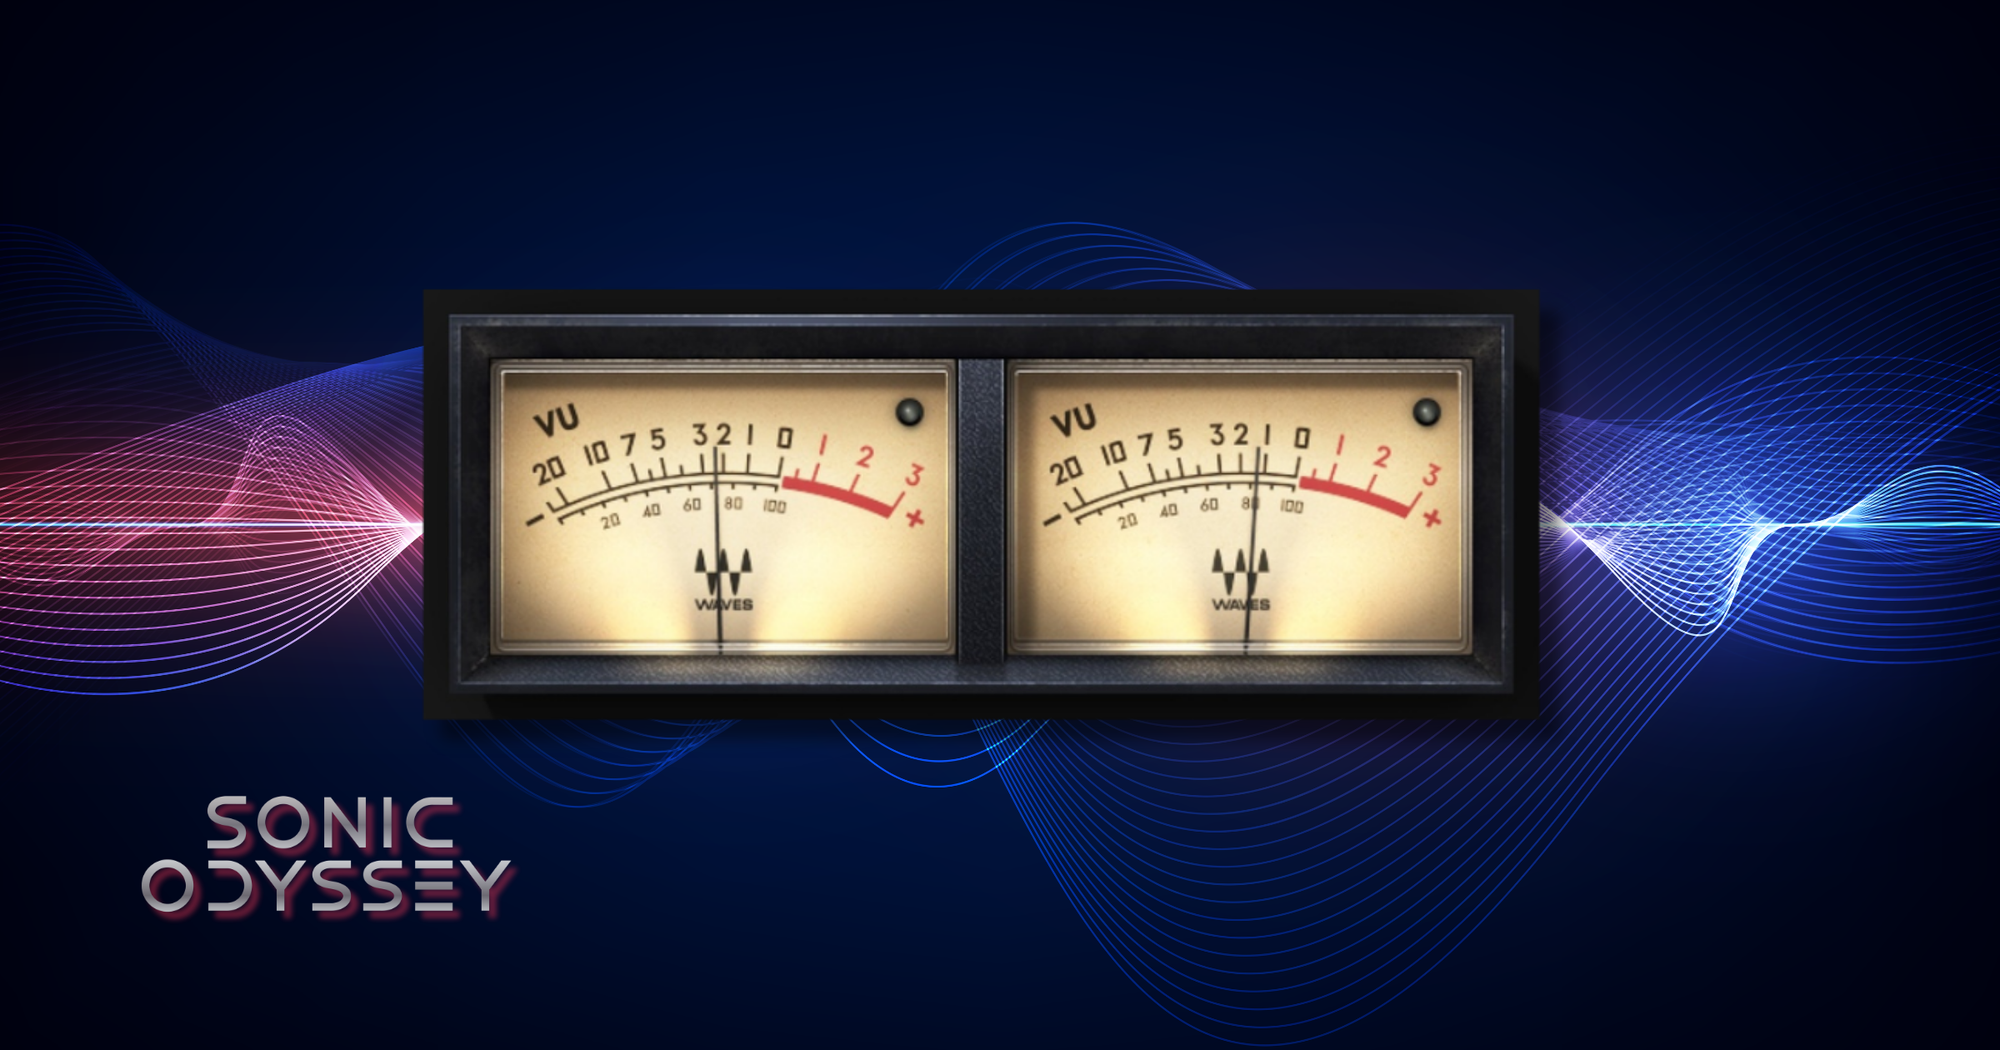
Waves VU Meter
This last one is going to seem a little odd, but stick with me.
I’m officially now an Old Guy (tm), which means I have Old Guy (tm) opinions. One of those is that the art of gain staging has mostly disappeared in modern digital workflows. Yes, with 24 or 32-bit headroom, you can run everything hot without clipping. That doesn’t mean you should.
That’s where the Waves VU Meter comes in.
This goes on just about everything. Tracks, buses, sometimes even twice on the same channel. One at the beginning, one at the end. I calibrate it to -18 dB and aim to keep levels sitting around 0 on the meter.
The goal is simple. Keep consistent levels, leave headroom, and avoid slamming plugins or buses harder than they need to be. Most plugins are designed to behave a certain way around these levels, and when you stay in that range, everything just works better.
Once I started doing this consistently, the overall quality of my mixes improved in a very noticeable way.
Best For:
- Maintaining consistent gain staging across a mix
- Preserving headroom throughout the signal chain
- Preventing plugins and buses from being overdriven
Why It’s Here
You can have all the right plugins and still get bad results if your levels are a mess.
Final Thoughts (Or: This Is How I Actually Mix)
At the end of the day, none of this is magic.
These are just tools. Good ones, but still just tools. You can get great results with other plugins, cheaper plugins, or even stock plugins if you know what you’re doing.
This is just what I use.
More importantly, this is how I think about mixing. Build tone first, get things under control, add space and width, and then finish it off on the mix bus without destroying what you just worked on.
If you take anything from this, it’s not that you need these exact plugins. It’s that you need a system. Something consistent that you understand and can rely on.
This is mine.
Build Your Core Toolkit
Plugins and controllers that speed up your workflow and keep you out of the menu diving hell.
High-quality amp sims that sound legit without spending a dime.
Reverb and delay tools that add width, depth, and movement without turning your mix into mud.

Controllers that make writing music faster, easier, and way less miserable than drawing notes.


