


Most home studio guides either overcomplicate everything or tell you to buy way more gear than you actually need. The truth is, you can get a clean, professional sound with a simple setup if you focus on the right pieces and ignore the noise.
This guide breaks down what actually matters, what doesn’t, and how to build a home studio that works without wasting money on gear you’ll outgrow in six months.
⚠️ Let’s Be Real for a Second
This isn’t a free hobby.
You can absolutely find free DAWs, plugins, samples, and tools to get started. That part has never been easier. But you still need a few core pieces of hardware if you’re serious about actually making music.
At a minimum, you need:
- A reliable computer
- A solid pair of headphones
- Ideally, an audio interface
If you don’t already have those, that’s where your money should go first.
Everything else can come later.
All prices are current as of March 30, 2026
Affiliate Disclosure:
Some of the links in this article are affiliate links. If you purchase through these links, Sonic Odyssey may earn a small commission at no additional cost to you. This helps support the site and allows us to continue creating in-depth guides for music producers.
If you’re building your setup, stop paying full price. We track the best deals from Plugin Boutique and update them constantly so you can grab top-tier tools before the prices jump back up.
Featured Plugin Deals: The best plugins worth buying—at prices that actually make sense.
Newest Plugin Deals: Fresh discounts just added. This is where the newest steals show up.
Deals Ending Soon: Prices about to go back up. If you’re even thinking about it, check these first.
Plugin Deals Hub: Browse all current deal pages across categories like EQ, reverb, delay, and more.
Get the deals now:
👉 Featured Plugin Deals
👉 Newest Plugin Deals
👉 Plugin Deals Ending Soon
👉 Browse All Plugin Deals
Recommended Reading
These guides are trending and might be exactly what you need next.
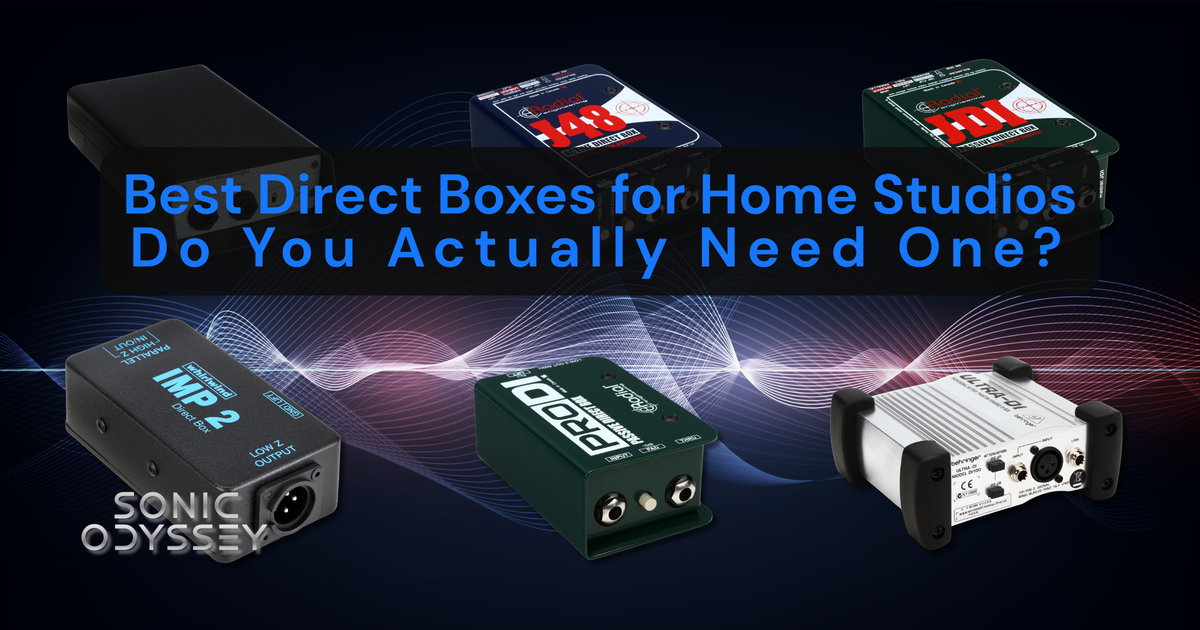
Do you actually need a DI box or is it just another piece of gear collecting dust?
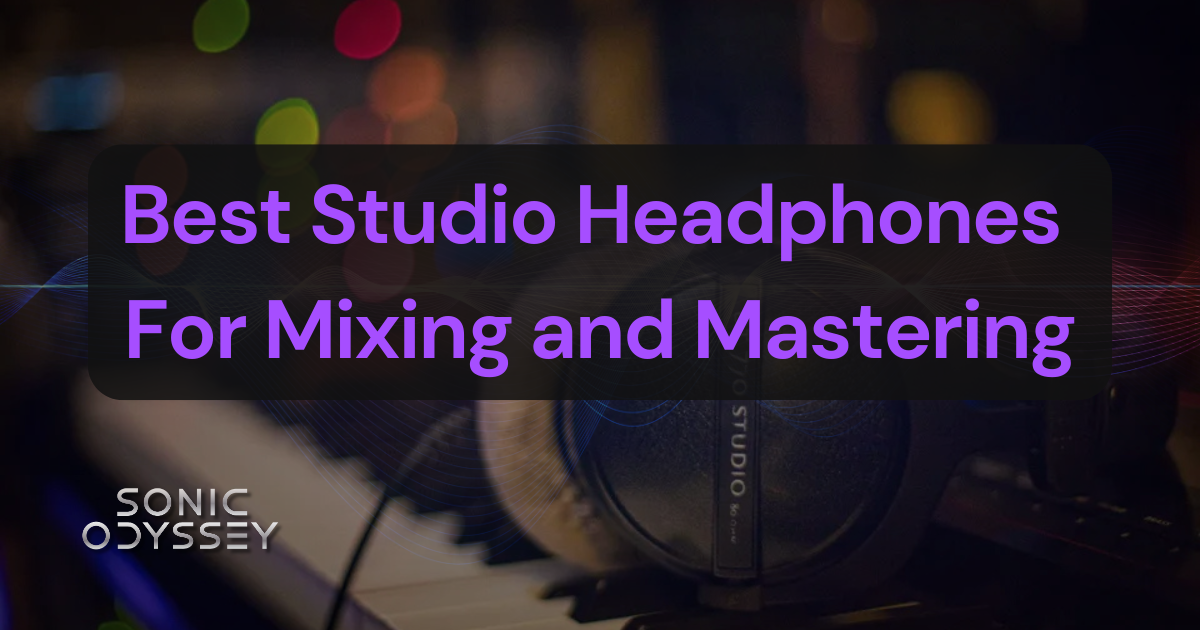
Find headphones you can trust so your mixes translate everywhere.
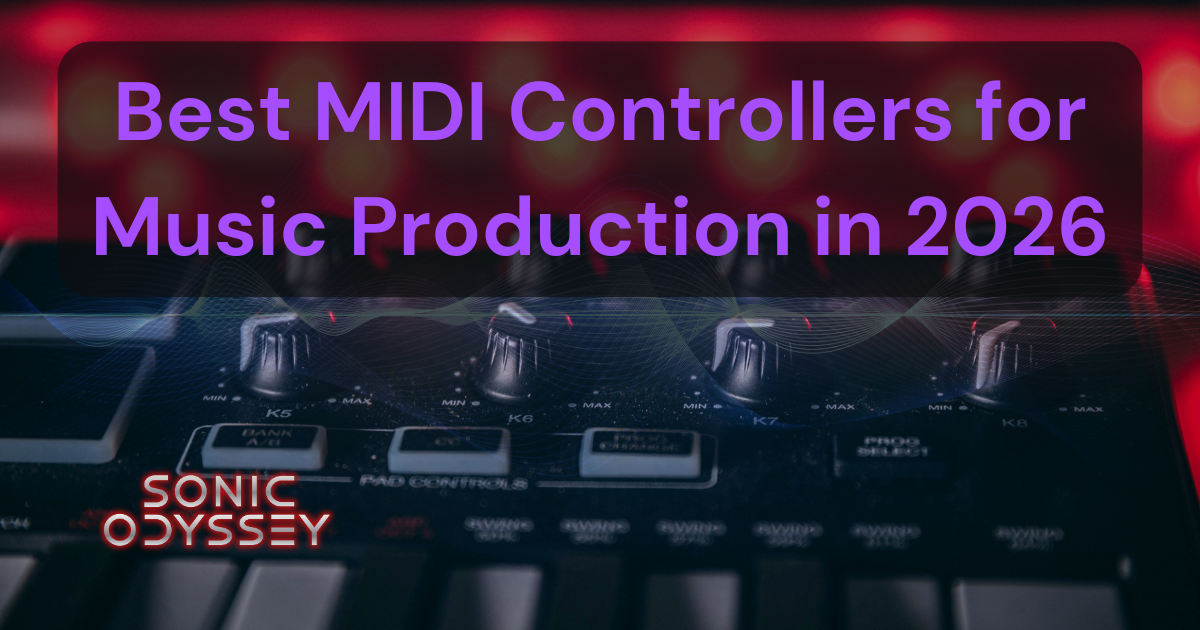
Stop clicking in notes and start making music the way it’s meant to feel.
1. Computer: The Heart of Your Studio
💡 Find the best deals on music production computers on Amazon.
Your computer is the foundation of your entire setup, but this is where a lot of beginners either overspend or buy something that struggles the moment they open a real session. You don’t need a monster machine, but you do need something stable that won’t choke once you start stacking plugins.
If your system can run your DAW smoothly with a handful of tracks and effects, you’re already 90% of the way there.
✅ Recommended Specs (Realistic, Not Overkill)
- Processor: Apple Silicon (M3, M4, or M5) or modern Intel i7 / AMD Ryzen 7
- RAM: 16GB minimum
- Storage: 512GB SSD minimum (1TB preferred)
👉 You can get by with less, but you’ll feel it quickly once sessions start growing.
💻 Recommended Models
- Apple MacBook Air (M5) – The sweet spot for most people. Silent, stable, and more than powerful enough for serious music production.
- Apple MacBook Pro (M5) – Worth it if you’re running heavier sessions, lots of virtual instruments, or doing mixing and mastering regularly.
- Windows Laptop (Intel i7 / Ryzen 7, 16GB RAM) – A strong alternative if you prefer Windows. Stick with reputable lines from ASUS, Dell, or Lenovo.
⚠️ What Actually Matters (And What Doesn’t)
- Matters: RAM and SSD speed
- Matters: Stability and thermals
- Doesn’t matter as much: Chasing the absolute newest CPU tier
A slightly older, stable machine you understand will outperform a brand-new system that’s constantly giving you issues.
🔗 Pro Tip
If you’re choosing between CPU upgrades and more RAM, take the RAM. That’s what keeps your sessions from falling apart when things get real.
2. Digital Audio Workstation (DAW): Your Creative Hub
💡 Your DAW is the software you’ll use to record, edit, mix, and finish your music. It’s the center of everything.
This is also where people get weirdly tribal, so let’s simplify it:
All modern DAWs are capable of producing professional results. The difference isn’t sound quality, it’s workflow.
⚠️ Let’s Address the Elephant in the Room
I use Pro Tools. I’m not switching. At this point, it would take more time to relearn another DAW than it’s worth.
If you can afford Pro Tools and you’re serious about recording, editing, and mixing, it’s still one of the best environments out there. If you DO decide to go the Pro Tools route, make sure to buy a perpetual license.
But…
That doesn’t mean it’s the best choice for everyone starting out.
🎯 If You Don’t Already Have a Preference, Start Here
- Reaper – This is what I’d recommend to most beginners who don’t already have a DAW.
It’s not pretty. It’s not especially beginner-friendly. It will absolutely let you do things that will break your session if you don’t know what you’re doing.
But:
- It’s insanely powerful
- It runs on almost anything
- It’s ridiculously affordable
- It scales with you as you improve
If you’re willing to push through the initial learning curve, Reaper will not hold you back later.
🎛️ Other Great DAWs (Pick Based on Workflow)
- FL Studio – Extremely popular, especially for beat-making and electronic music. Fast, intuitive, and fun to use.
- Logic Pro (Mac only) – One of the best all-in-one packages available. Huge value for the price.
- Ableton Live – Great for electronic production and live performance workflows.
- Cubase – Deep, powerful, and widely used in production and composition.
- Bitwig – Modern, flexible, and very strong for sound design and experimental workflows.
- Luna Pro – A newer option with a very analog-inspired workflow. Especially compelling if you’re using Universal Audio hardware, but not something I’d recommend as a first DAW unless you’re already in that ecosystem.
❌ What You Shouldn’t Do
- Don’t bounce between DAWs constantly
- Don’t assume one DAW will “sound better” than another
- Don’t pick based on what your favorite YouTuber uses
Pick one, learn it, and stick with it long enough to actually get good.
🔗 Pro Tip
Your DAW matters less than your ability to use it. The fastest way to improve is to stop switching tools and start finishing projects.
That said, the idea that all DAWs sound exactly the same gets thrown around way too casually.
Yes, it’s all digital. No, that doesn’t mean every DAW is doing the exact same thing under the hood. Different summing engines, pan laws, plugin handling, and internal processing choices all affect how audio is handled. Companies like Avid and Universal Audio have invested decades into their DSP and audio pipelines. It’s not just random code pushing bits around.
I’ve tested this extensively over the years. There can be subtle differences.
But here’s the part people miss:
Those differences are not what’s holding your mixes back.
Skill, decision-making, and experience matter far more than which DAW you’re using. If you can’t get a great mix in one DAW, switching to another isn’t going to magically fix it.
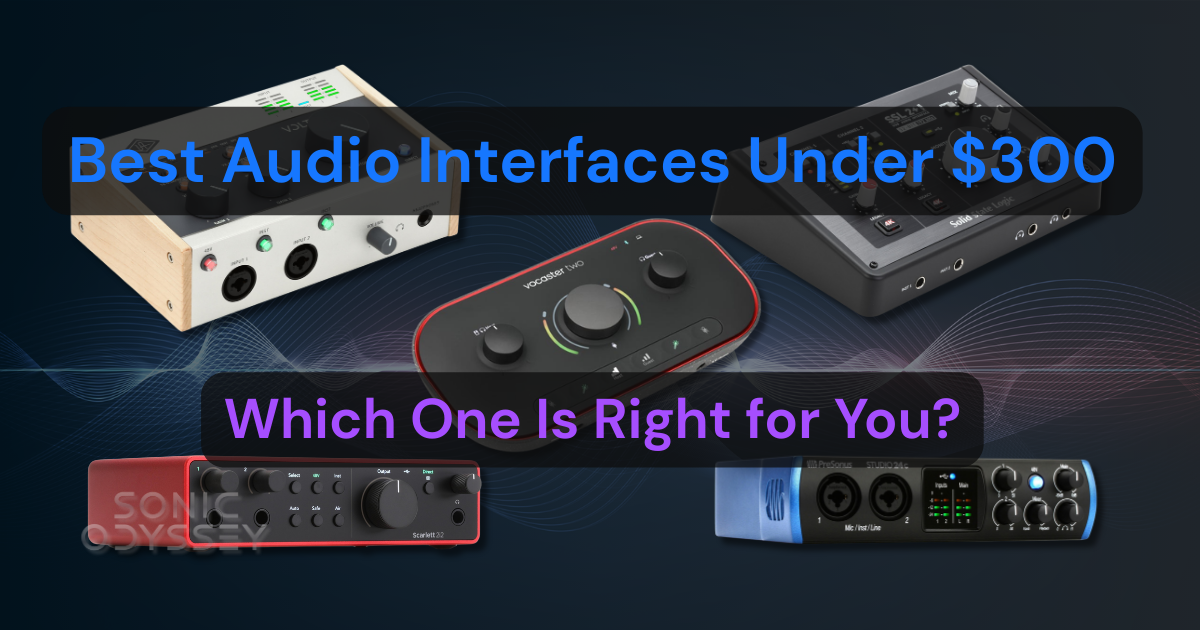
3. Audio Interface: The Bridge Between Analog & Digital
💡 Shop high-quality audio interfaces on Amazon.
Your audio interface is what actually gets sound in and out of your computer. It handles your microphones, instruments, and monitoring, and it has a bigger impact on your day-to-day experience than most people realize.
The good news is that even budget interfaces today sound very good. The differences come down to features, workflow, and how much room you have to grow.
🎯 Top Beginner Audio Interfaces
- Focusrite Scarlett 2i2 (4th Gen) – Still one of the safest recommendations out there. Reliable, easy to use, and sounds good. If you just want something that works, this is it.
- SSL 2+ – A step up in character. The “4K” mode adds a bit of presence and edge that can actually be useful on vocals and guitars.
- MOTU M2 – Extremely clean, great metering, and excellent performance for the price. Feels a bit more “technical” but in a good way.
- Universal Audio Volt 176 / 276 – This is where things get interesting. Built-in analog-style compression and a slightly more “finished” sound right out of the box. Also a great entry point into the UA ecosystem if you plan to expand later.
⚠️ What Actually Matters
- Number of inputs – 2 is enough for most beginners
- Direct monitoring – reduces latency when recording
- Driver stability – matters more than spec sheets
- Preamps – all of these are good; don’t overthink it
🔗 Pro Tip
Don’t buy more inputs than you need right now. Most people recording at home rarely need more than 2 at a time, and you can always upgrade later if your setup grows.
Also, don’t get suckered in by extremely cheap interfaces loaded with inputs or flashy features. There’s usually a reason they’re cheap. Stick to what you actually need from a reputable brand and you’ll have a much better experience.
You’ll get what you pay for either way.
Get the Best Plugin Deals & Tips Weekly
Exclusive gear discounts, plugin deals, and pro mixing insights — straight to your inbox.
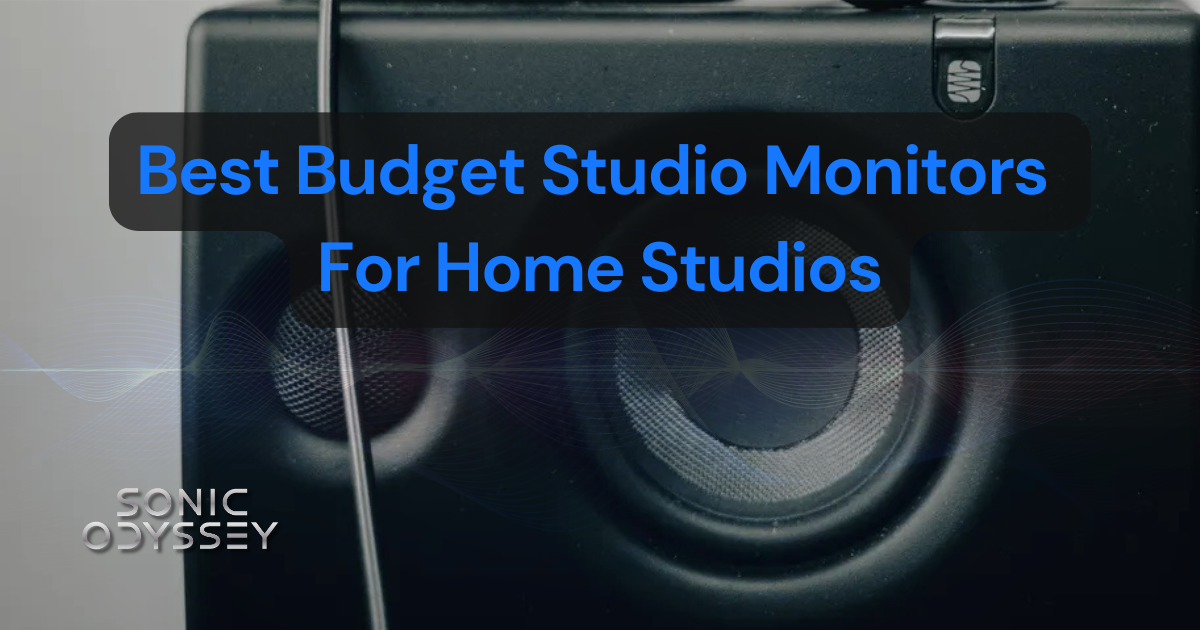
4. Studio Monitors & Headphones: Hear What’s Actually Happening
💡 Upgrade your monitoring setup with deals on Amazon.
This is where a lot of beginners get tripped up. You can have great plugins and a solid interface, but if you can’t accurately hear what you’re doing, your mixes will suffer.
That said, you don’t need a perfectly treated room or a $3,000 monitoring setup to get started. You just need something honest enough to make good decisions.
🔊 Best Budget Studio Monitors
- Yamaha HS5 – These are brutally honest in the best way. They don’t hype the low end, which forces you to make better decisions when mixing. If your mix sounds good on these, it will translate well elsewhere.
- KRK Rokit 5 (G5) – A more forgiving option with a bit more low-end presence. Great for writing, producing, and general use, especially if you’re working in an untreated room.
🎧 Best Studio Headphones
- Audio-Technica ATH-M50x – A classic for a reason. Balanced, reliable, and a great all-around option whether you’re tracking, editing, or just getting started.
- Beyerdynamic DT 770 Pro – Extremely comfortable and great for long sessions. Slightly more detailed in the top end, which can help when dialing in vocals and fine details.
⚠️ Monitors vs Headphones (What You Should Know)
- Monitors give you a more natural stereo image and help you understand how your mix translates in a room
- Headphones are more detailed and better for tracking, editing, and working in untreated spaces
Most beginners will end up using both.
🔗 Pro Tip
If your room isn’t treated, don’t stress about expensive monitors right away. A solid pair of headphones will often give you more reliable results than cheap monitors in a bad room.
Also, don’t expect your mixes to magically improve just because you bought better speakers. Monitoring helps, but learning how your system sounds takes time. The more you use it, the better your decisions will get.
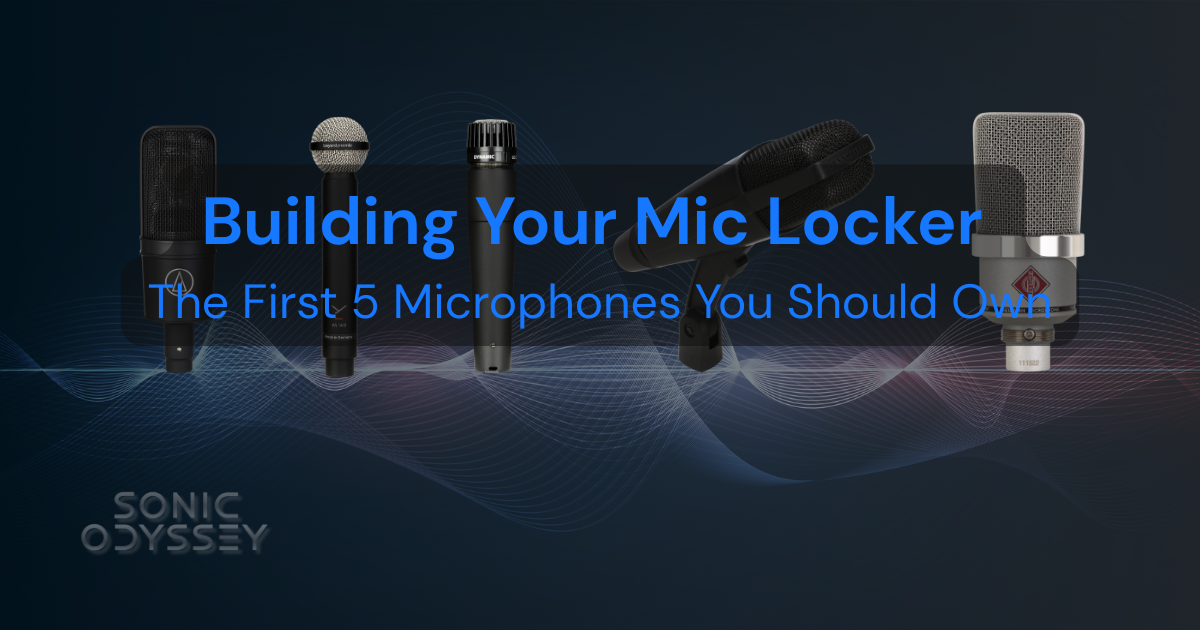
5. Microphones: Capturing Your Sound
💡 Explore top microphones for recording on Amazon.
Microphones are where things start to feel very real very quickly. This is also where a lot of beginners overthink things or buy something that doesn’t actually fit what they’re trying to do.
The truth is, you don’t need a huge mic locker to get great results. You just need one or two solid, reliable mics that fit your voice or instrument.
🎤 Best Starter Microphones (That You Won’t Outgrow Immediately)
- Audio-Technica AT2020 – A solid entry point if you want a condenser mic for vocals. Clean, affordable, and widely used, but you’ll eventually want to upgrade.
- Shure SM57 – One of the most useful microphones ever made. Great for guitar amps, drums, and even vocals in a pinch. If you only owned one mic starting out, this wouldn’t be a bad choice.
- RØDE NT1 – Extremely low noise and a noticeable step up from entry-level condensers. A great choice if you’re focusing on vocals in a home studio environment.
🎙️ Step-Up Options (Where Things Start Getting Serious)
- Shure SM7B – A studio staple for a reason. Smooth, controlled, and very forgiving, especially in untreated rooms. Excellent for vocals, podcasting, and anything where you want a more polished, controlled sound.
- Electro-Voice RE20 – Another classic broadcast-style mic. A bit more open than the SM7B, with great low-end control and versatility. Fantastic on vocals, voiceover, and even kick drum or bass cab.
⚠️ What Actually Matters
- Your room – Condenser mics will pick up everything
- Your voice – Not every mic works for every person
- Mic technique – Distance and positioning matter more than people think
🔗 Pro Tip
If you’re recording in an untreated room, a dynamic mic like the SM7B or RE20 will usually give you better results than a cheap condenser.
Also, don’t get suckered in by “doorbuster” microphones. That random MXL condenser sitting on clearance at Guitar Center is on sale for a reason. Cheap mics with flashy specs or bundles usually create more problems than they solve.
Stick with proven, widely used microphones and learn how to use them well. That will take you a lot further than chasing a “deal.”
6. MIDI Controller: Adding Creative Control
💡 Find the perfect MIDI controller for your setup on Amazon.
A MIDI controller isn’t strictly necessary, but it can make a huge difference in how you interact with your music. Instead of clicking notes into a grid with your mouse, you can actually play parts in, control parameters, and work more intuitively.
If you plan on using virtual instruments, writing melodies, or programming drums, a MIDI controller will make the process faster and a lot more enjoyable.
🎹 Top Picks
- Akai MPK Mini MK3 – Compact, affordable, and surprisingly capable. Great for small setups or if you just want something simple to sketch ideas quickly.
- Arturia KeyLab Essential 49 – A big step up with full-size keys and more hands-on control. Much better if you’re actually playing parts rather than just clicking things in.
- Native Instruments Komplete Kontrol M32 – Excellent integration with software instruments, especially if you’re using Native Instruments plugins. Clean workflow and very easy to use.
⚠️ What Actually Matters
- Key count – 25 keys is fine for basics, but 49+ is more comfortable if you play
- Pad quality – important if you’re programming drums
- Software integration – some controllers work better with certain ecosystems
🔗 Pro Tip
If you don’t play keys at all, you don’t need a MIDI controller right away. Plenty of great music has been made entirely with a mouse and keyboard.
But if you’re serious about making music long-term, having something you can physically play will make the process faster, more creative, and a lot less frustrating.
7. Acoustic Treatment: What Actually Matters (And What Doesn’t)
Your room matters more than people want to admit. You can have great gear, but if your room is working against you, your mixes won’t translate.
That said, this is also one of the most misunderstood parts of home studio setup.
⚠️ Let’s Clear Something Up
Those cheap foam panels you see everywhere?
They don’t fix your room.
At best, they tame a little bit of high-end reflection. They do almost nothing for the low end, which is where most of your real problems are.
And the worst part is, once you cover your walls in foam, you’ve spent money and still don’t actually have a controlled listening environment.
🎯 What Actually Helps
- Speaker placement – This matters more than most “treatment”
- Listening position – Don’t sit directly against a wall
- Bass trapping – Low frequencies are the hardest to control and the most important
If you’re going to spend money here, spend it on things that actually affect the full frequency range.
💡 Practical, Beginner-Friendly Options
- Basic room adjustments – Move your desk off the wall, avoid corners, and create some space behind your listening position
- Soft furnishings – Rugs, couches, and bookshelves can help break up reflections in a natural way
- Real acoustic panels (not foam) – Thicker broadband panels will do far more than cheap foam tiles
🔗 Pro Tip
Don’t rush into buying acoustic foam just because it’s cheap or looks like a “studio upgrade.” In most cases, it’s not solving the problems you actually have.
If your room is untreated, focus on learning your monitors and checking your mixes on multiple systems. That will get you further than covering your walls in foam.
8. Essential Accessories (The Stuff You’ll Forget Until You Need It)
💡 Check out must-have studio accessories on Amazon.
These are the things nobody talks about when you’re getting started, but they’ll absolutely impact your day-to-day workflow. None of this is glamorous, but all of it matters.
🛠️ Must-Have Accessories
- Mic Stand & Pop Filter – Don’t cheap out here. A bad mic stand will sag, slip, and generally make you hate your life. A pop filter is a must for vocals unless you enjoy fixing plosives later.
- Audio Cables (XLR, TRS, USB-C) – Buy decent cables and a couple extras. Cheap or failing cables will introduce noise, dropouts, or random issues that are a nightmare to troubleshoot.
- External Hard Drive / SSD – Back up your sessions. Seriously. Drives fail, files get corrupted, and losing work will ruin your day faster than anything else in this article.
⚠️ What Actually Matters
- Reliability over “features”
- Having backups (for cables and storage)
- Not having your entire setup held together by one fragile connection
🔗 Pro Tip
Most studio problems aren’t caused by your plugins or your gear. They’re caused by something simple failing—usually a cable, a connection, or a drive.
If something weird is happening, check the boring stuff first.
Final Thoughts: Build Your Studio the Right Way
Setting up a home studio doesn’t have to be complicated, but it does require making smart decisions early.
Focus on the essentials first: a solid computer, a good pair of headphones, and a reliable interface. That foundation will take you a lot further than chasing gear you don’t fully understand yet.
You don’t need everything at once. You don’t need the most expensive setup. But you do need tools you can trust and a setup you’re willing to learn inside and out.
Because at the end of the day, your mixes won’t improve because you bought something new. They improve because you put in the time, learn your gear, and make better decisions.
Build your studio slowly. Learn what you have. Upgrade with intention.
That’s how you get results.
Next Steps for Your Studio Journey
You’ve got the essentials — now it’s time to level up your recording toolkit and workflow.
Get accurate monitoring without blowing your entire budget.
Start your mic collection with the pieces you’ll actually use for years.
The best interfaces under $300 that actually deliver where it counts.


